Cork bowl blank (A gift from Dave)
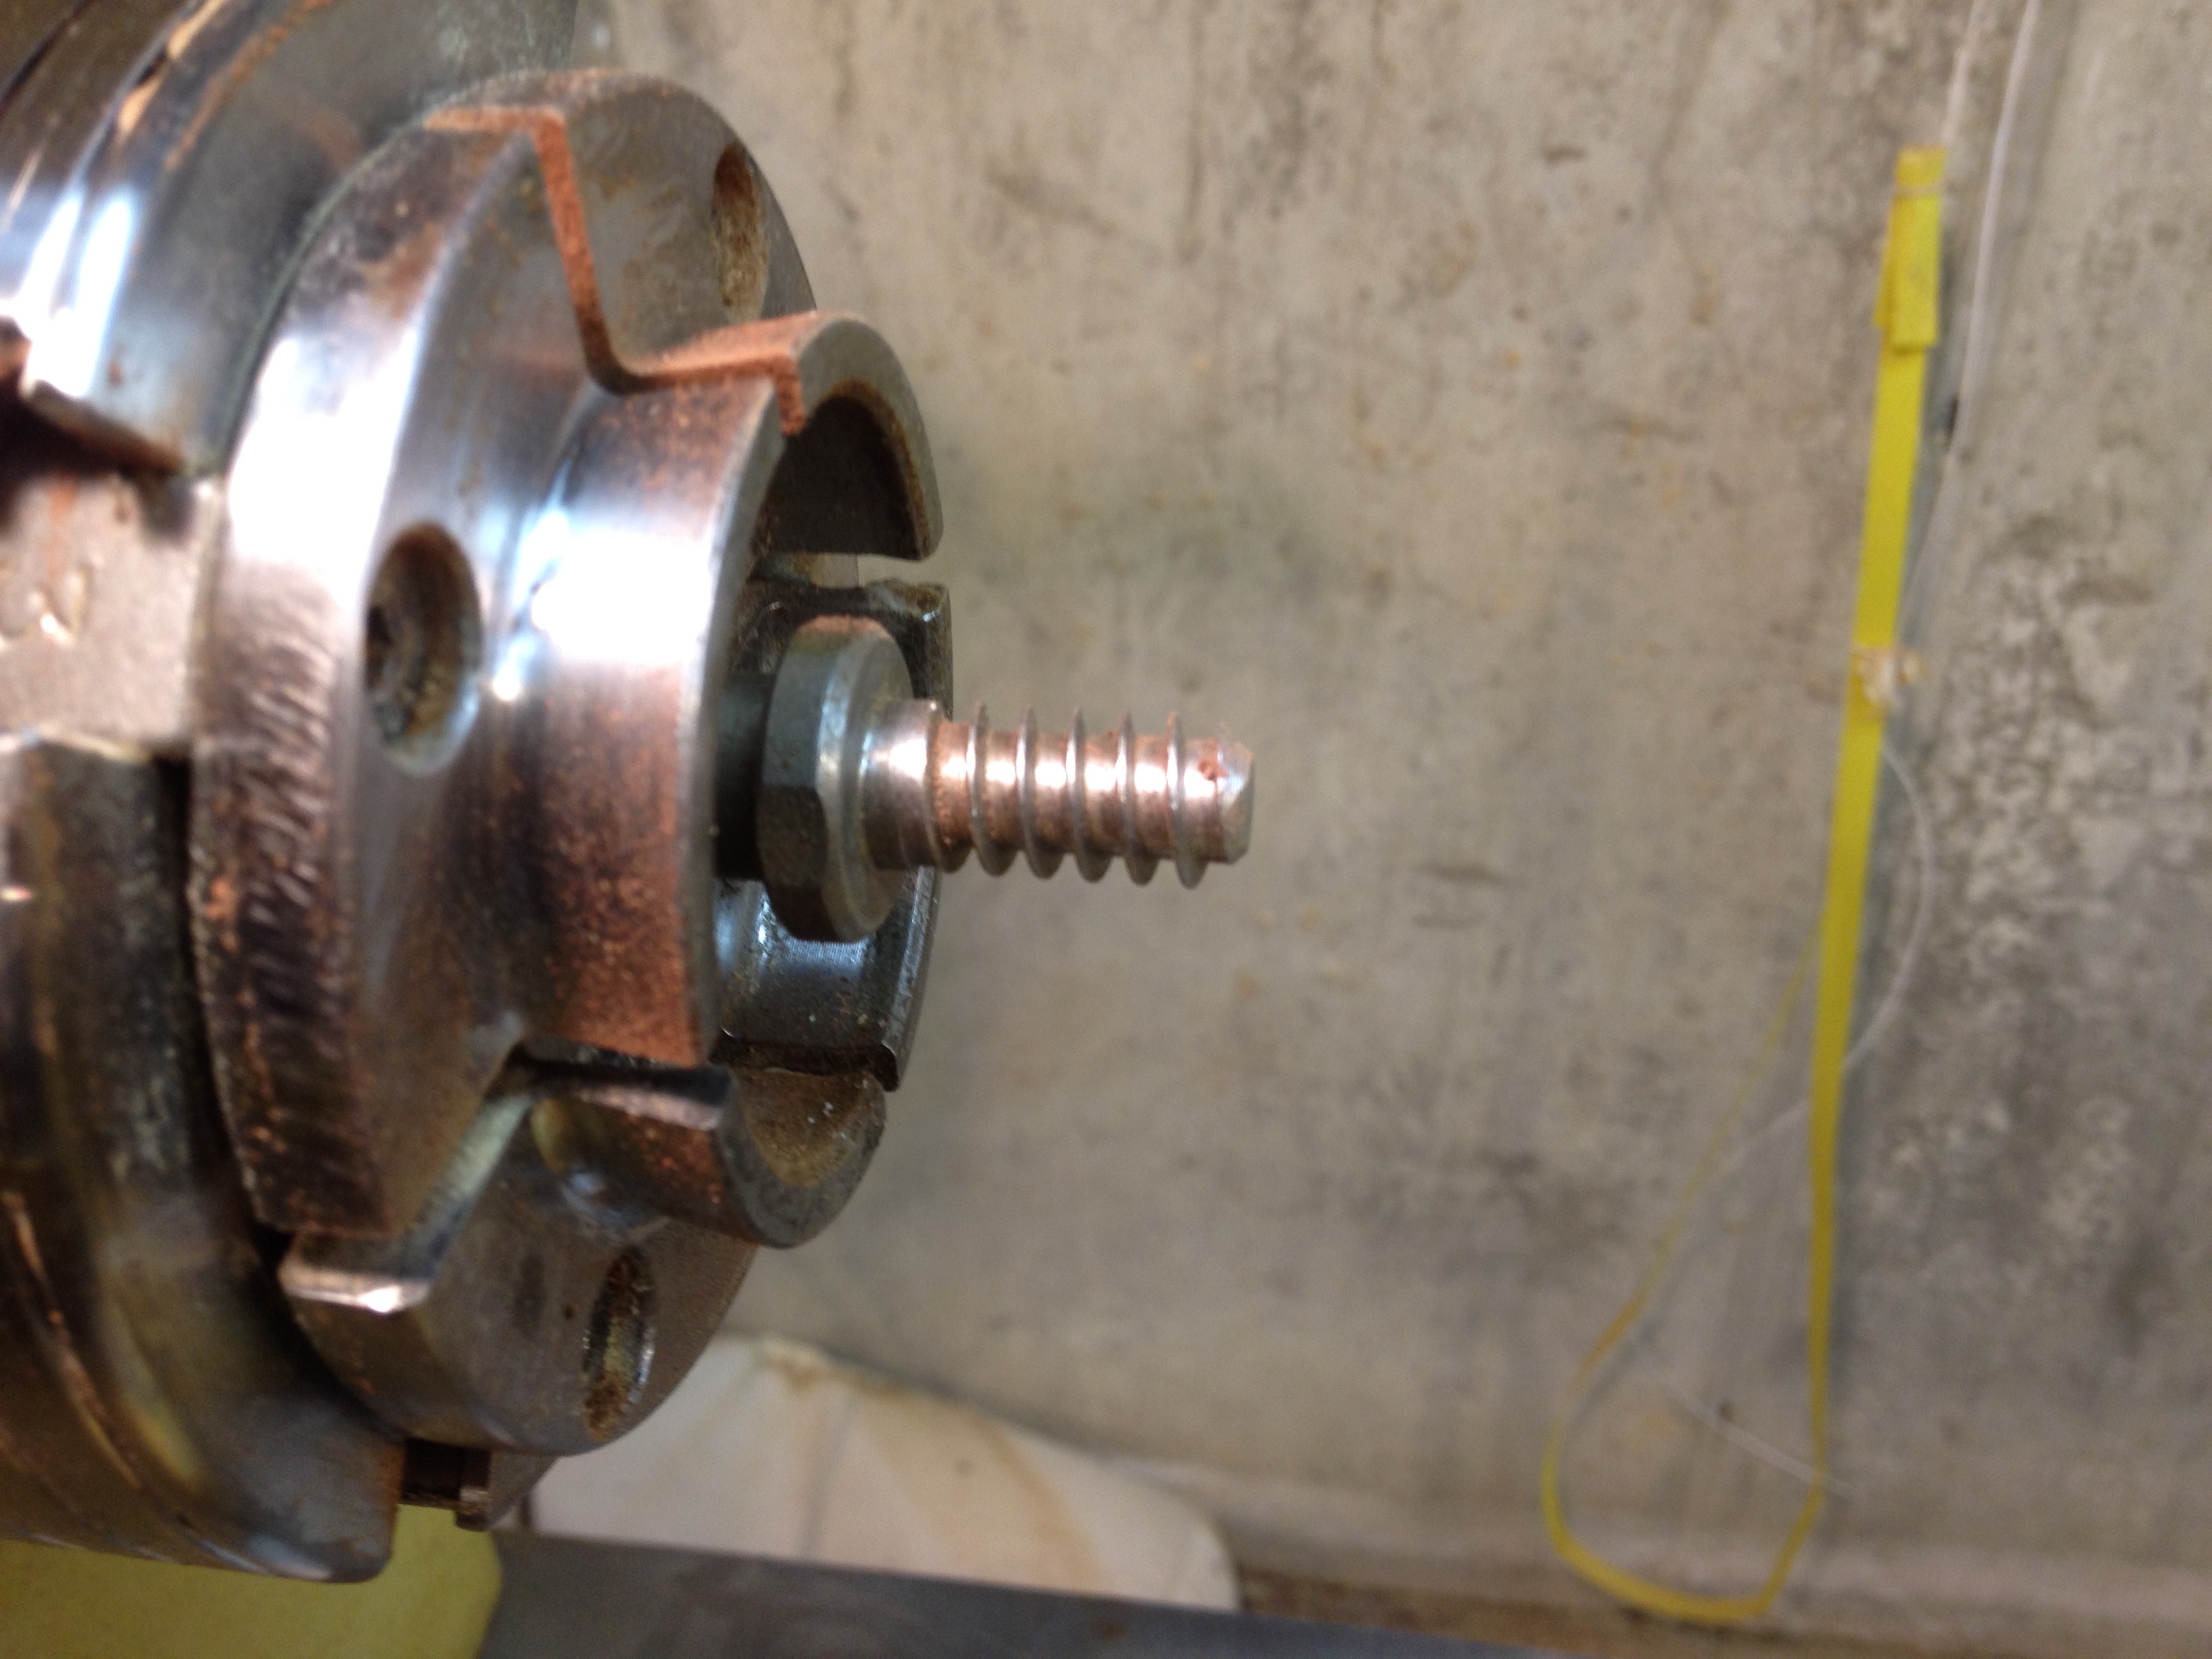
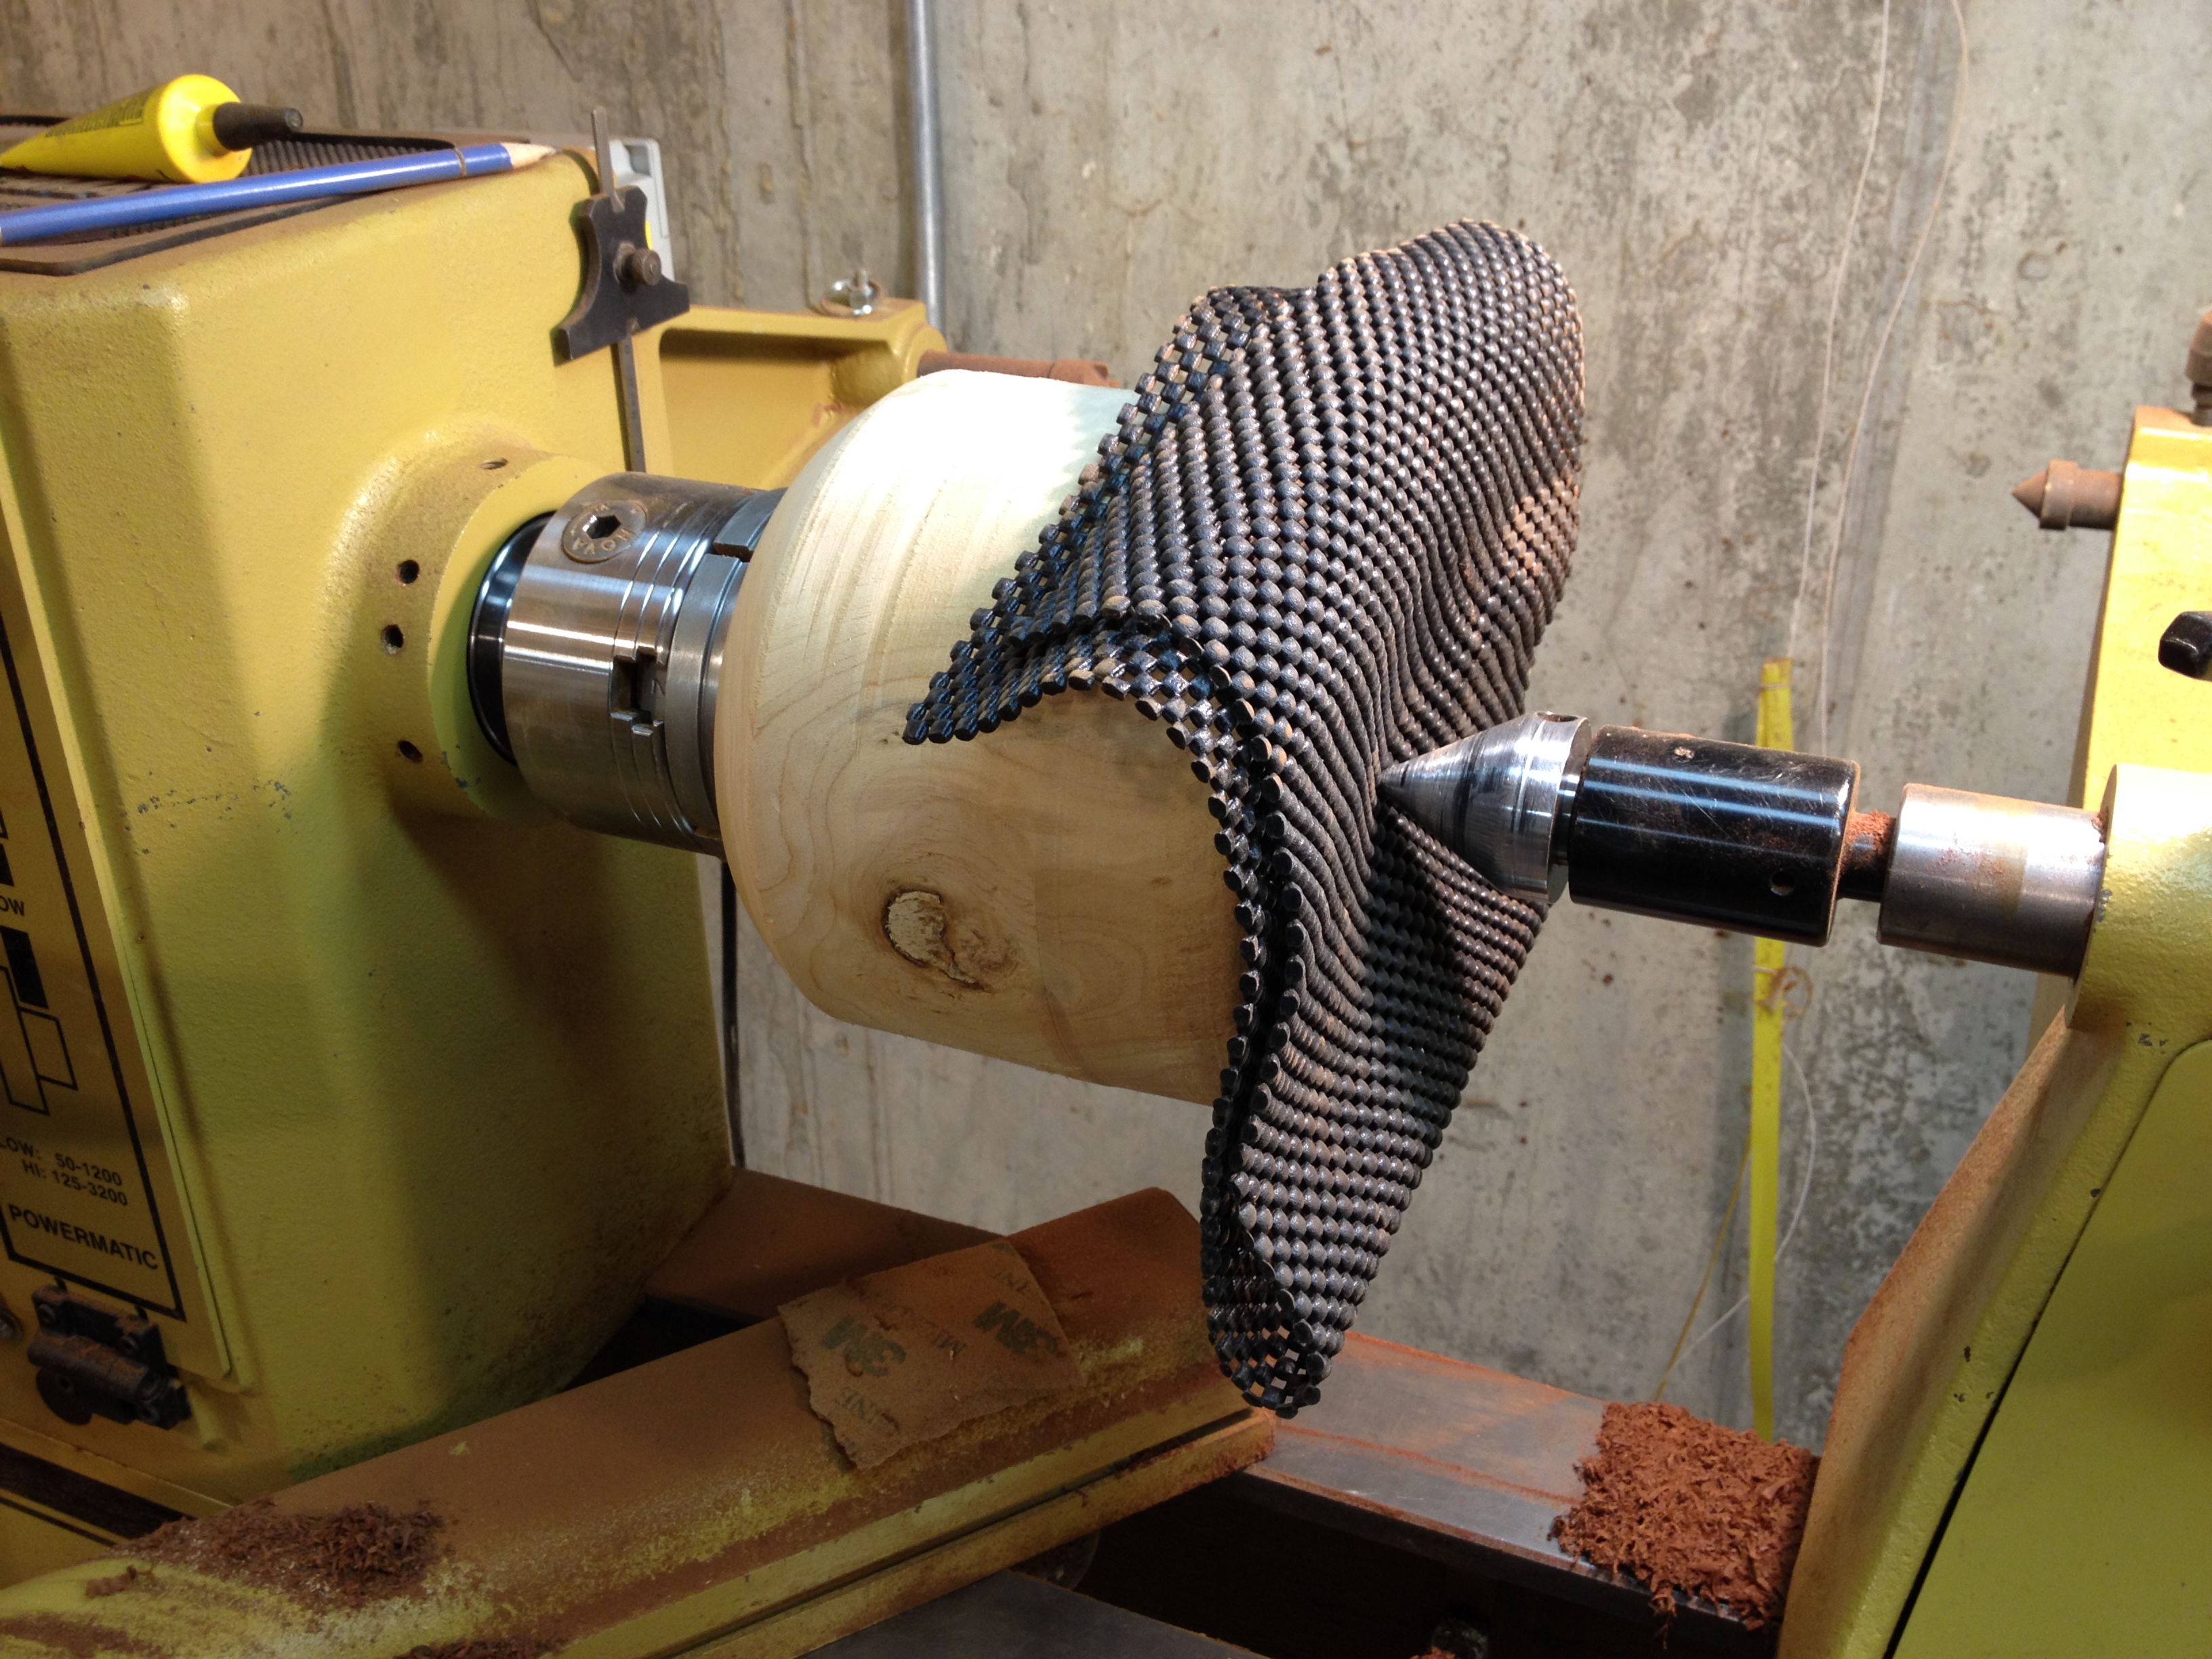
Wormwood screw chuck
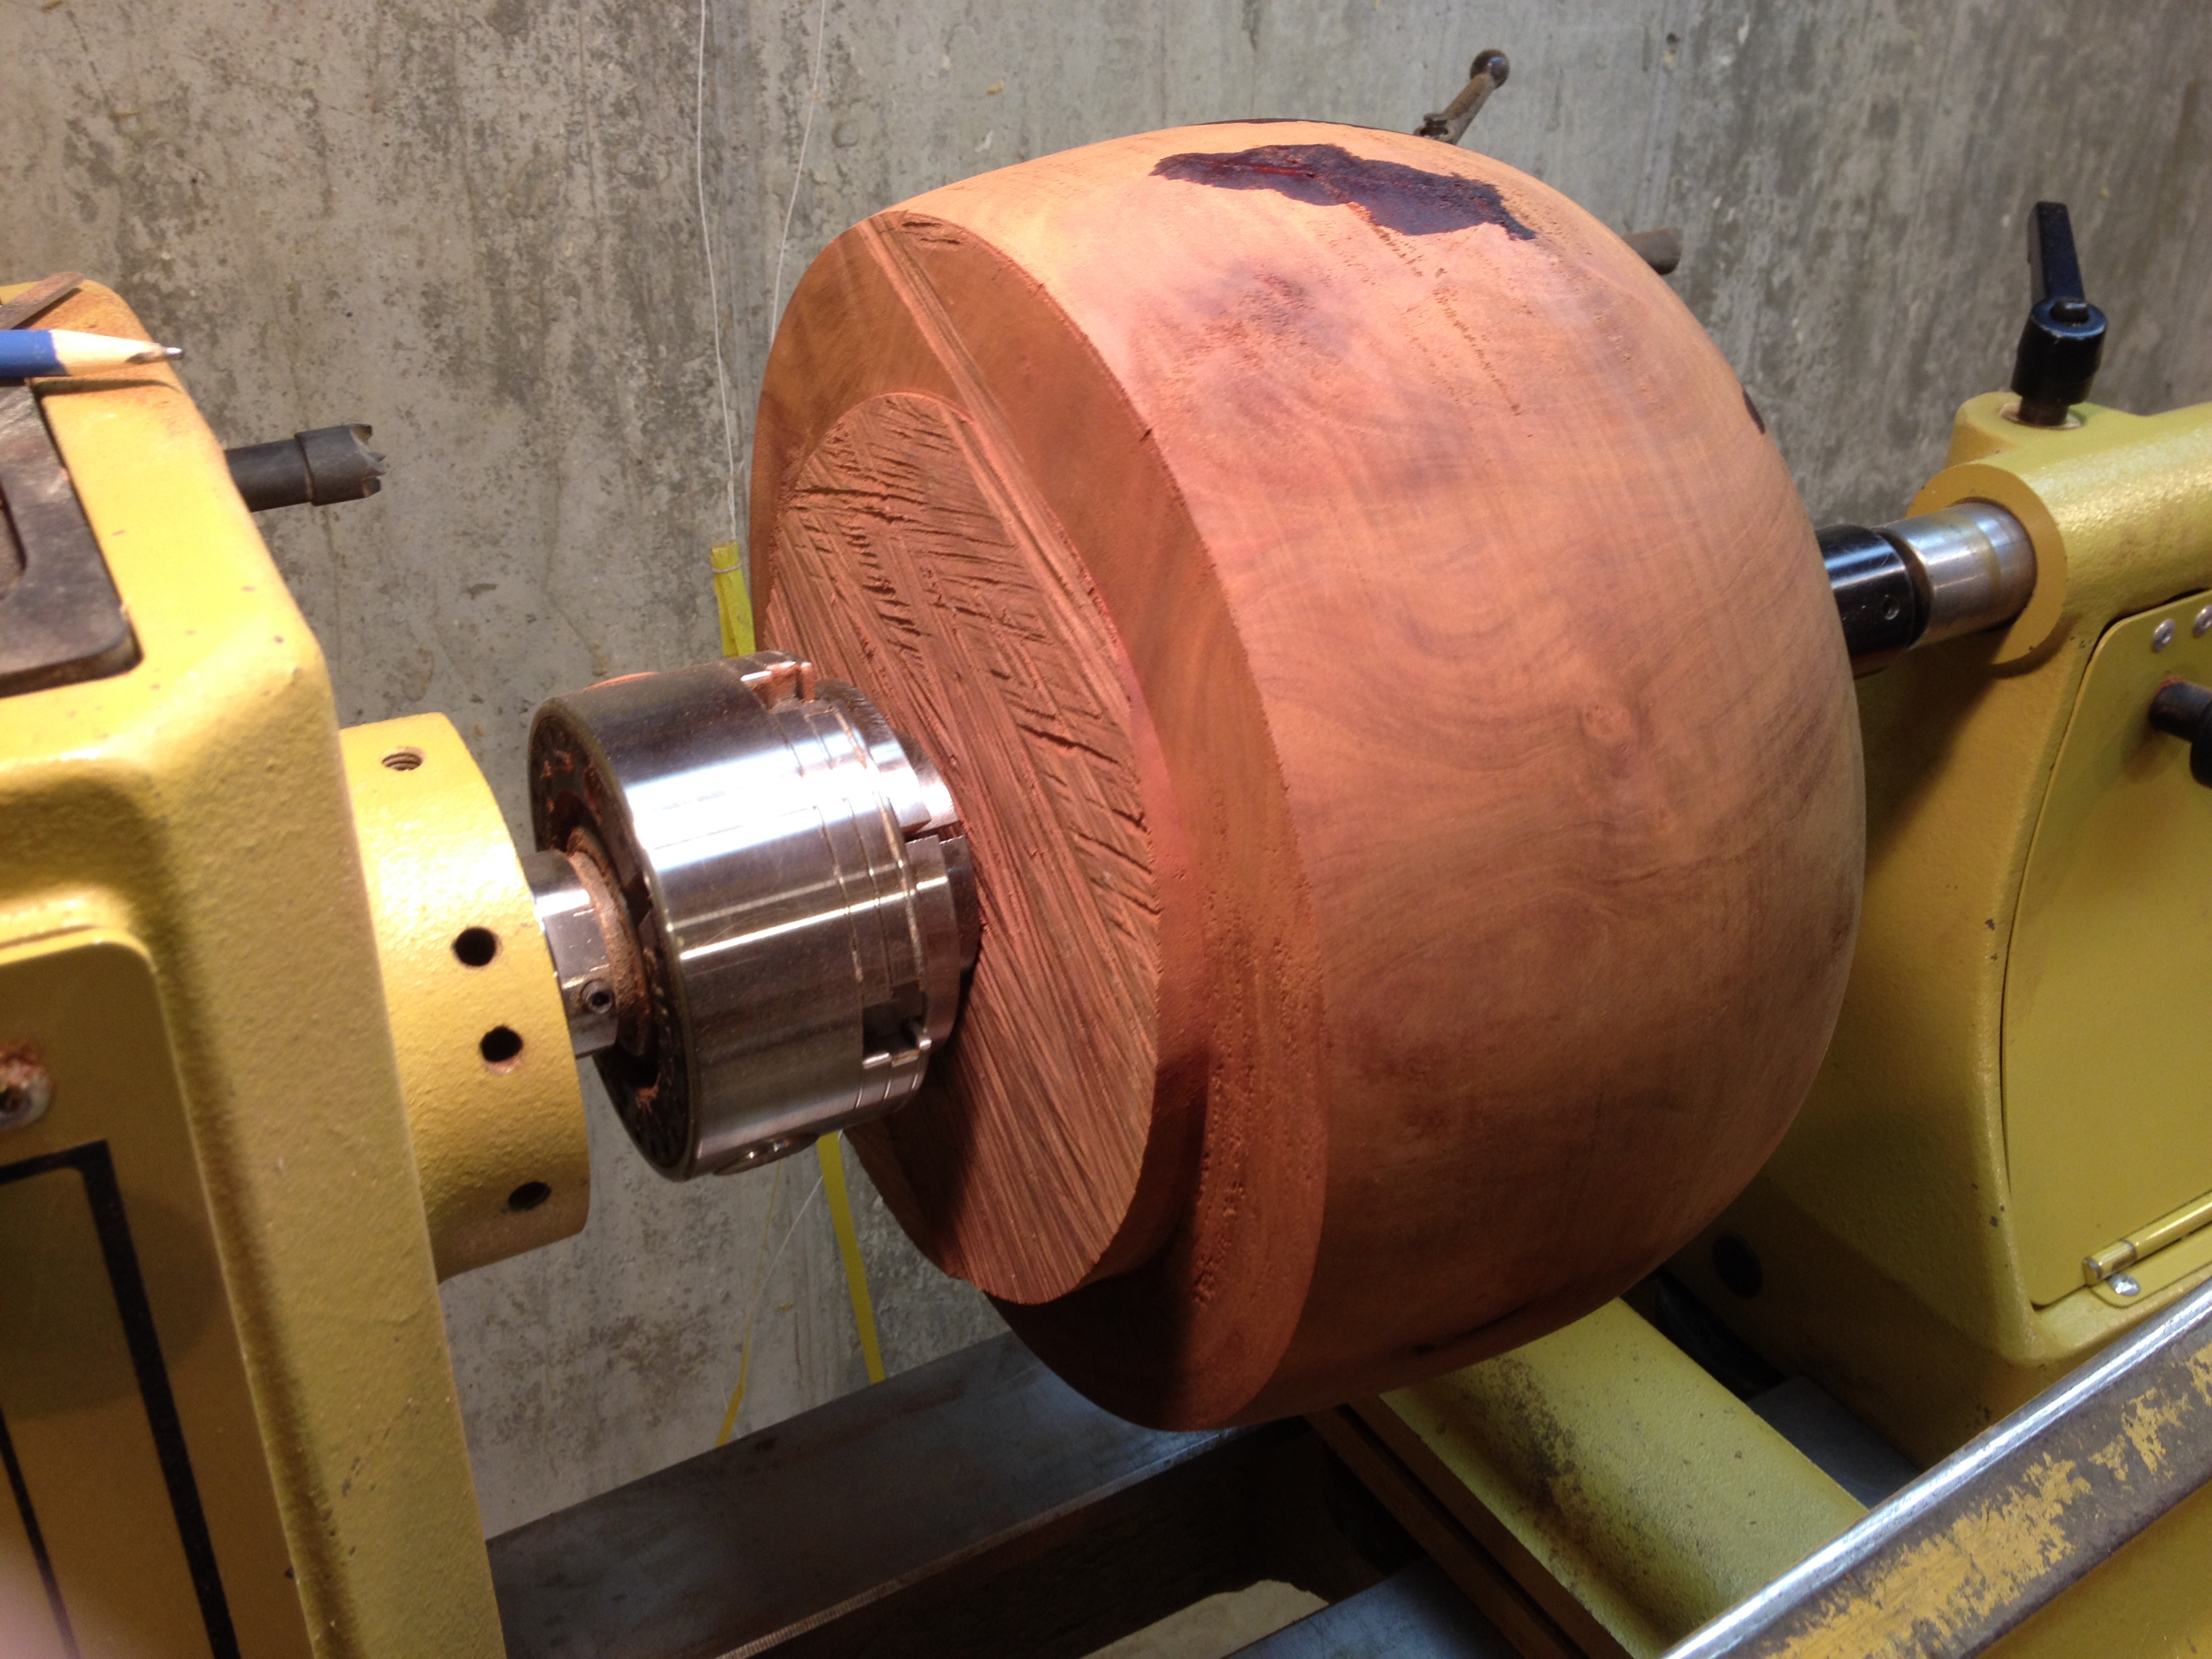
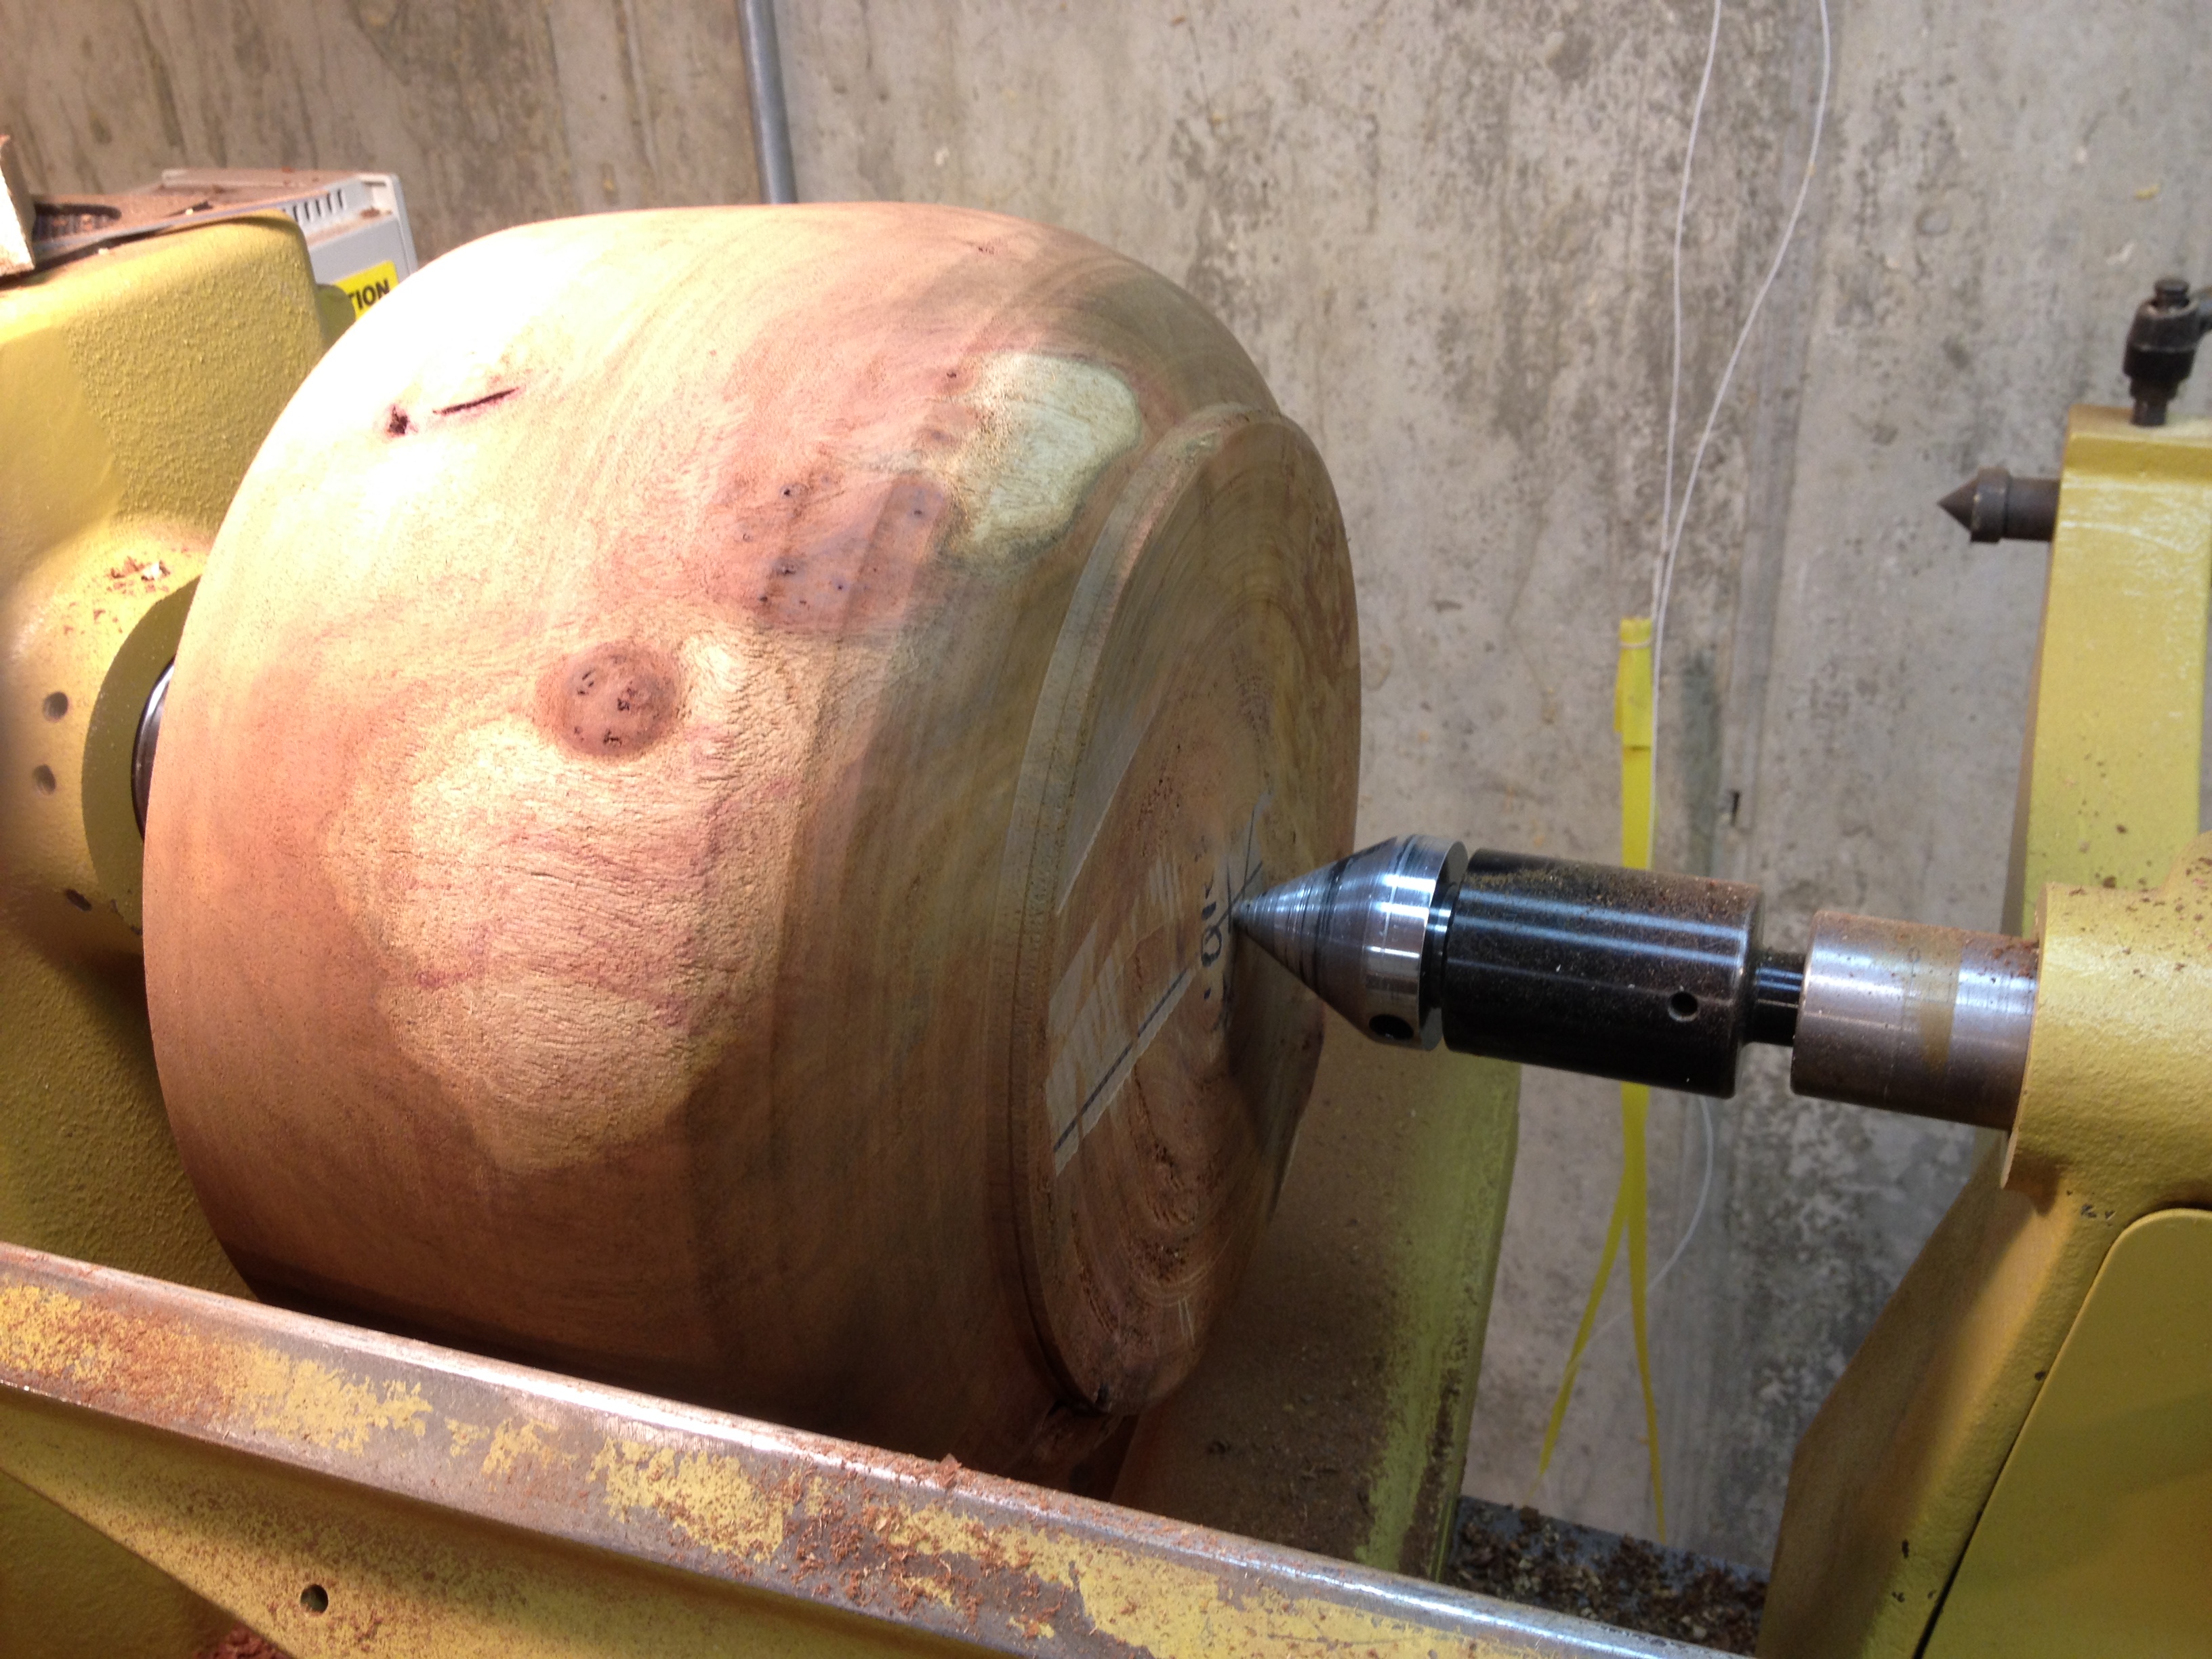
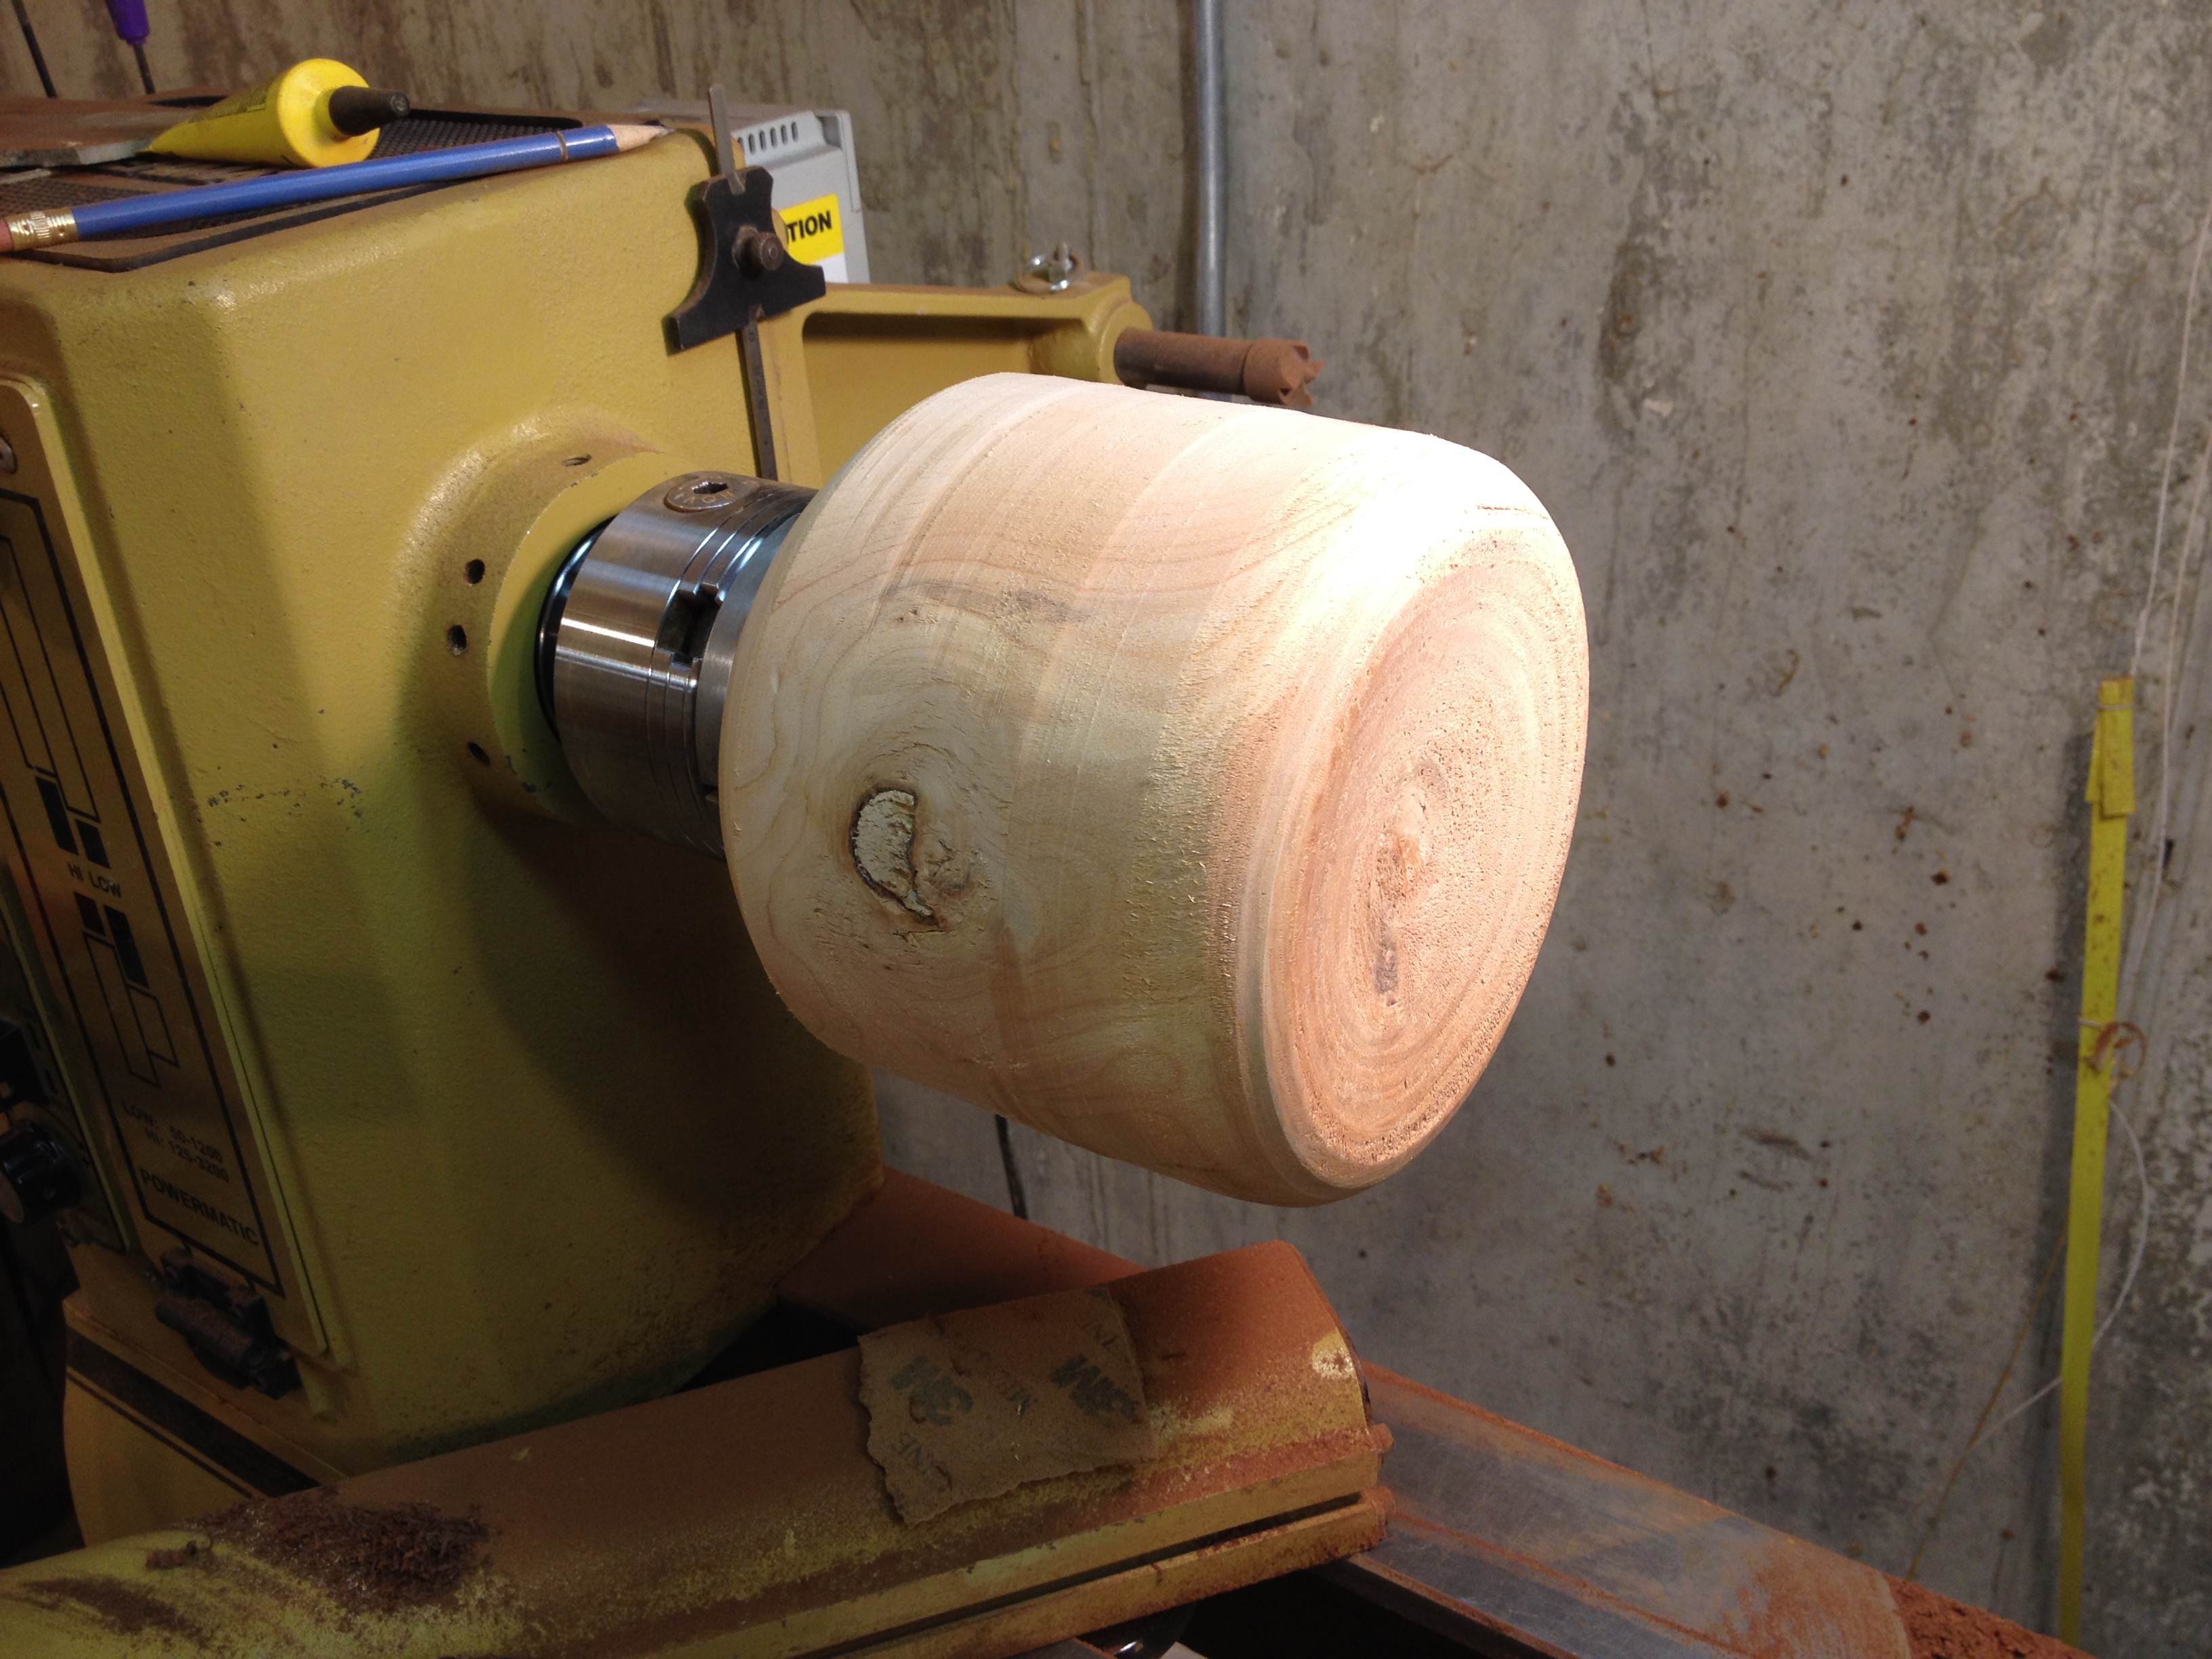
 Mounted between centers on the screw chuck
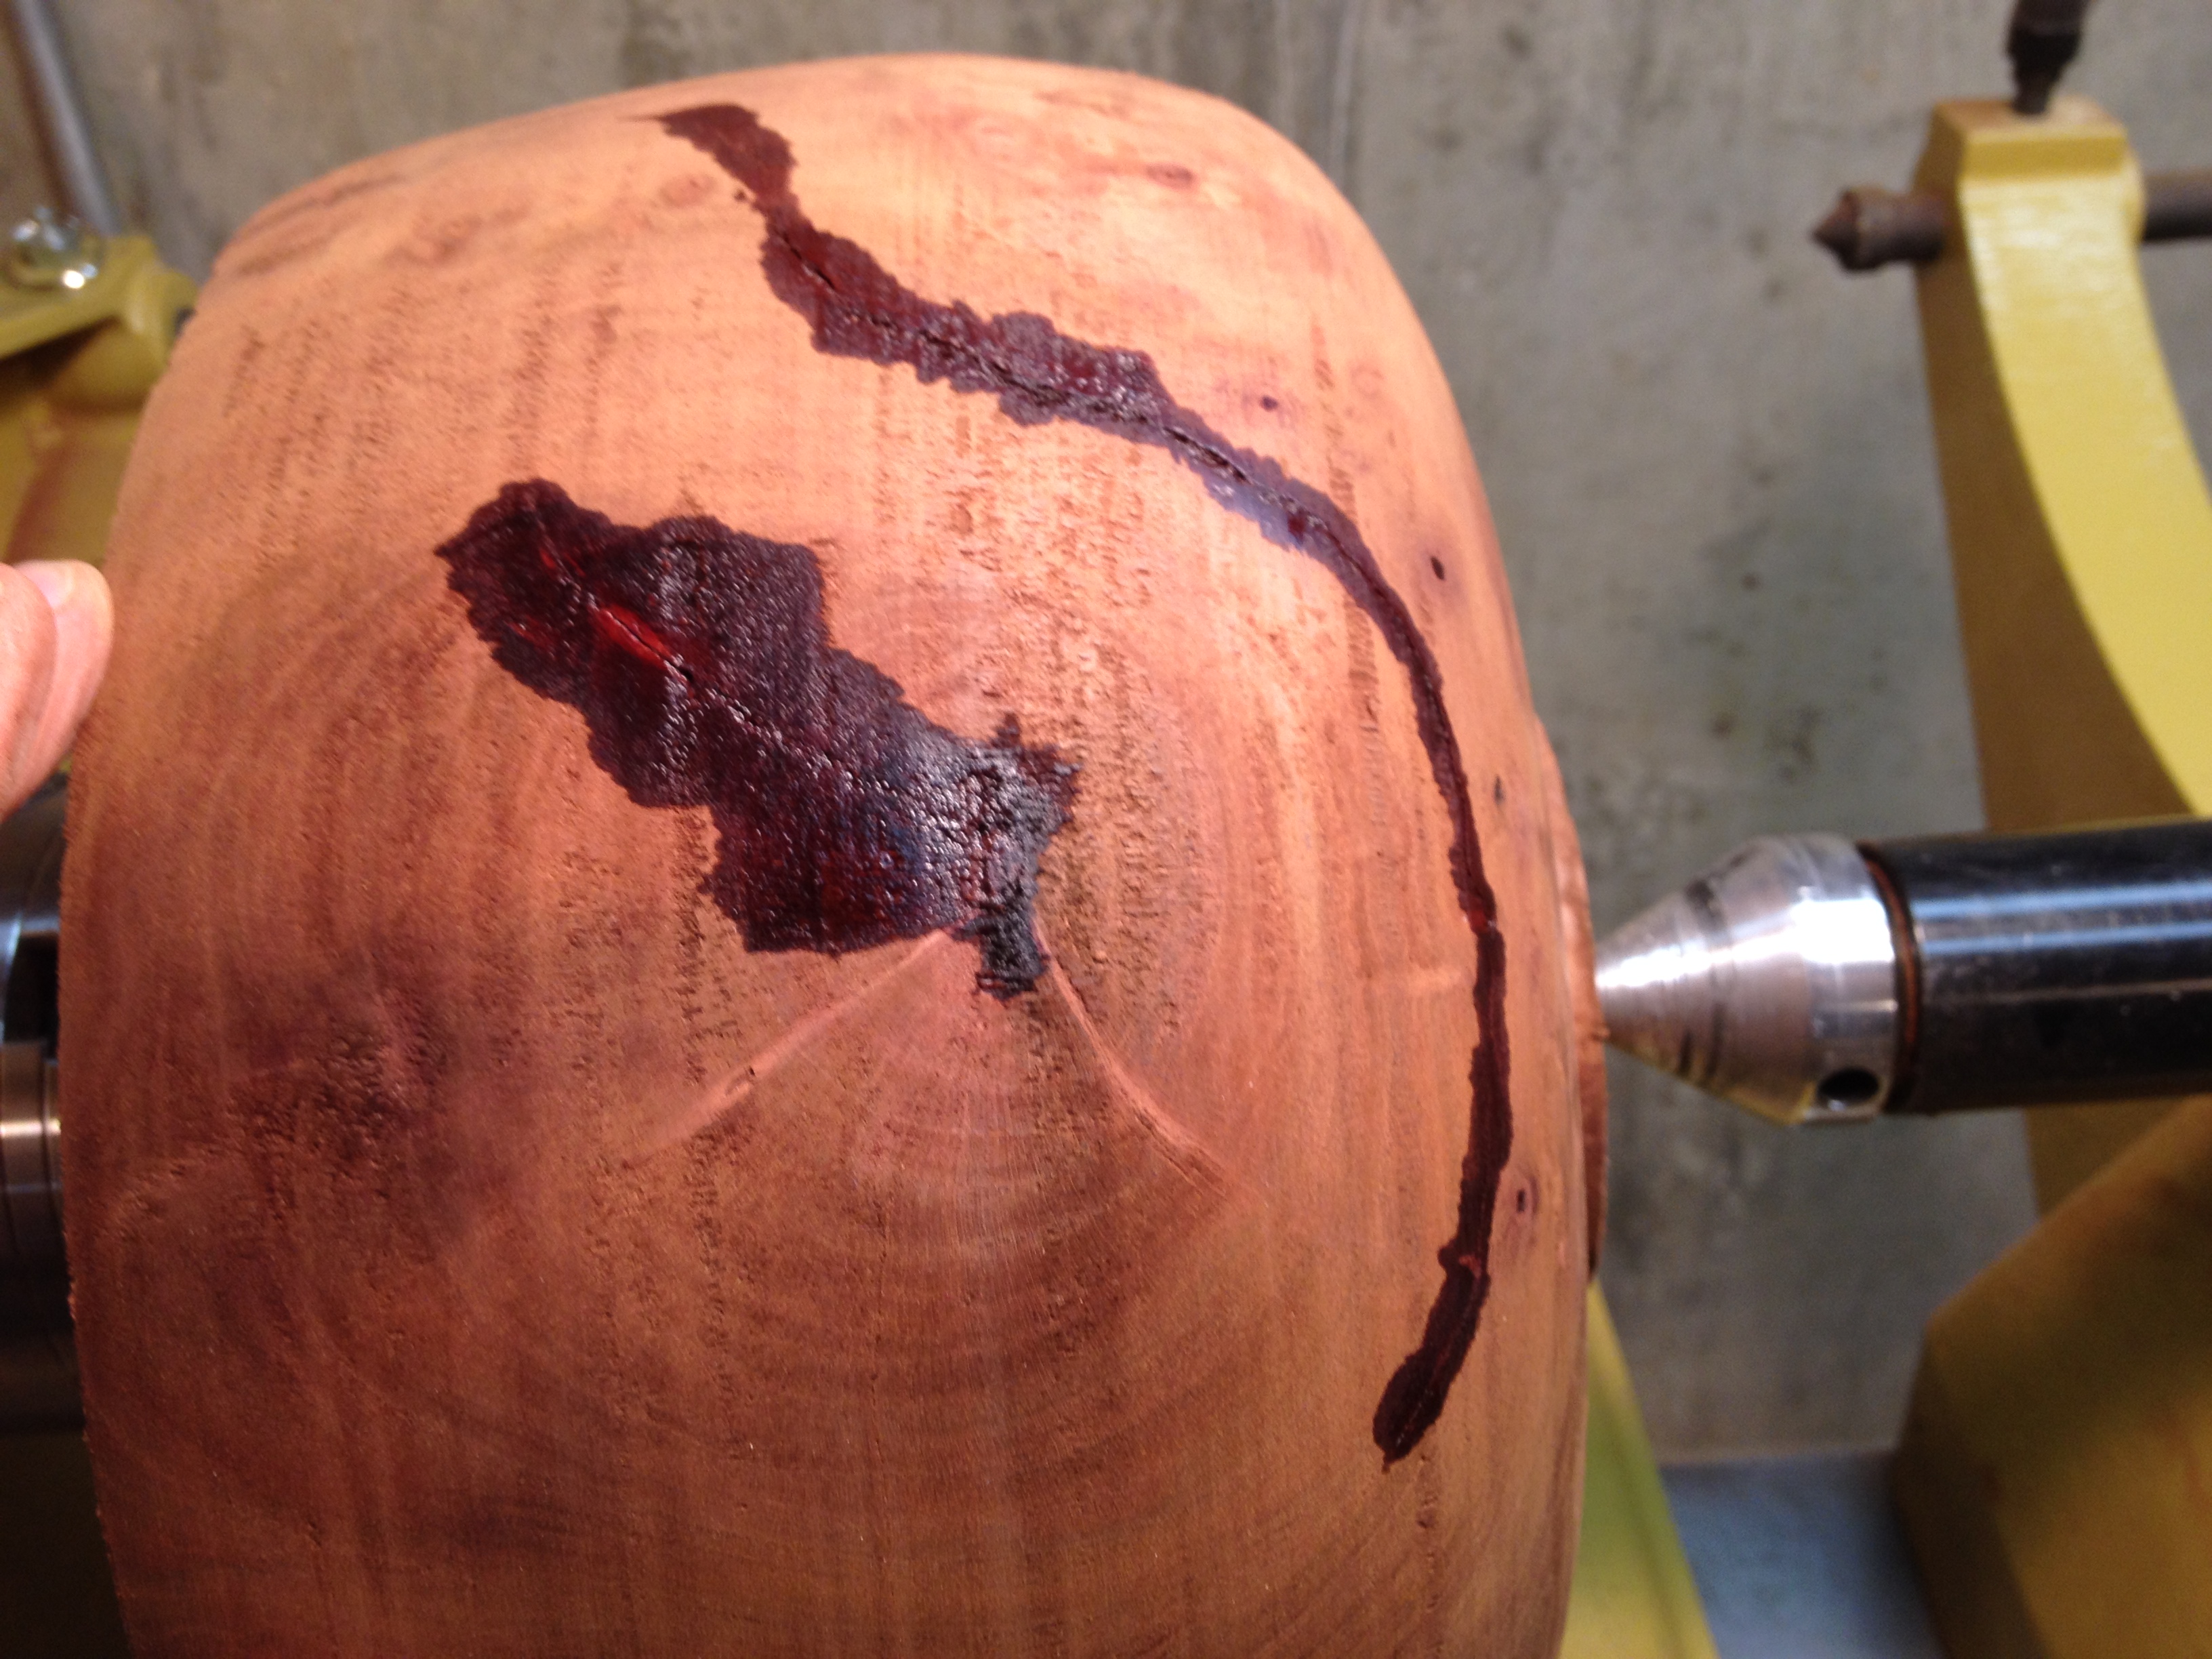
Drizzling CA glue into cracks and a ring check:
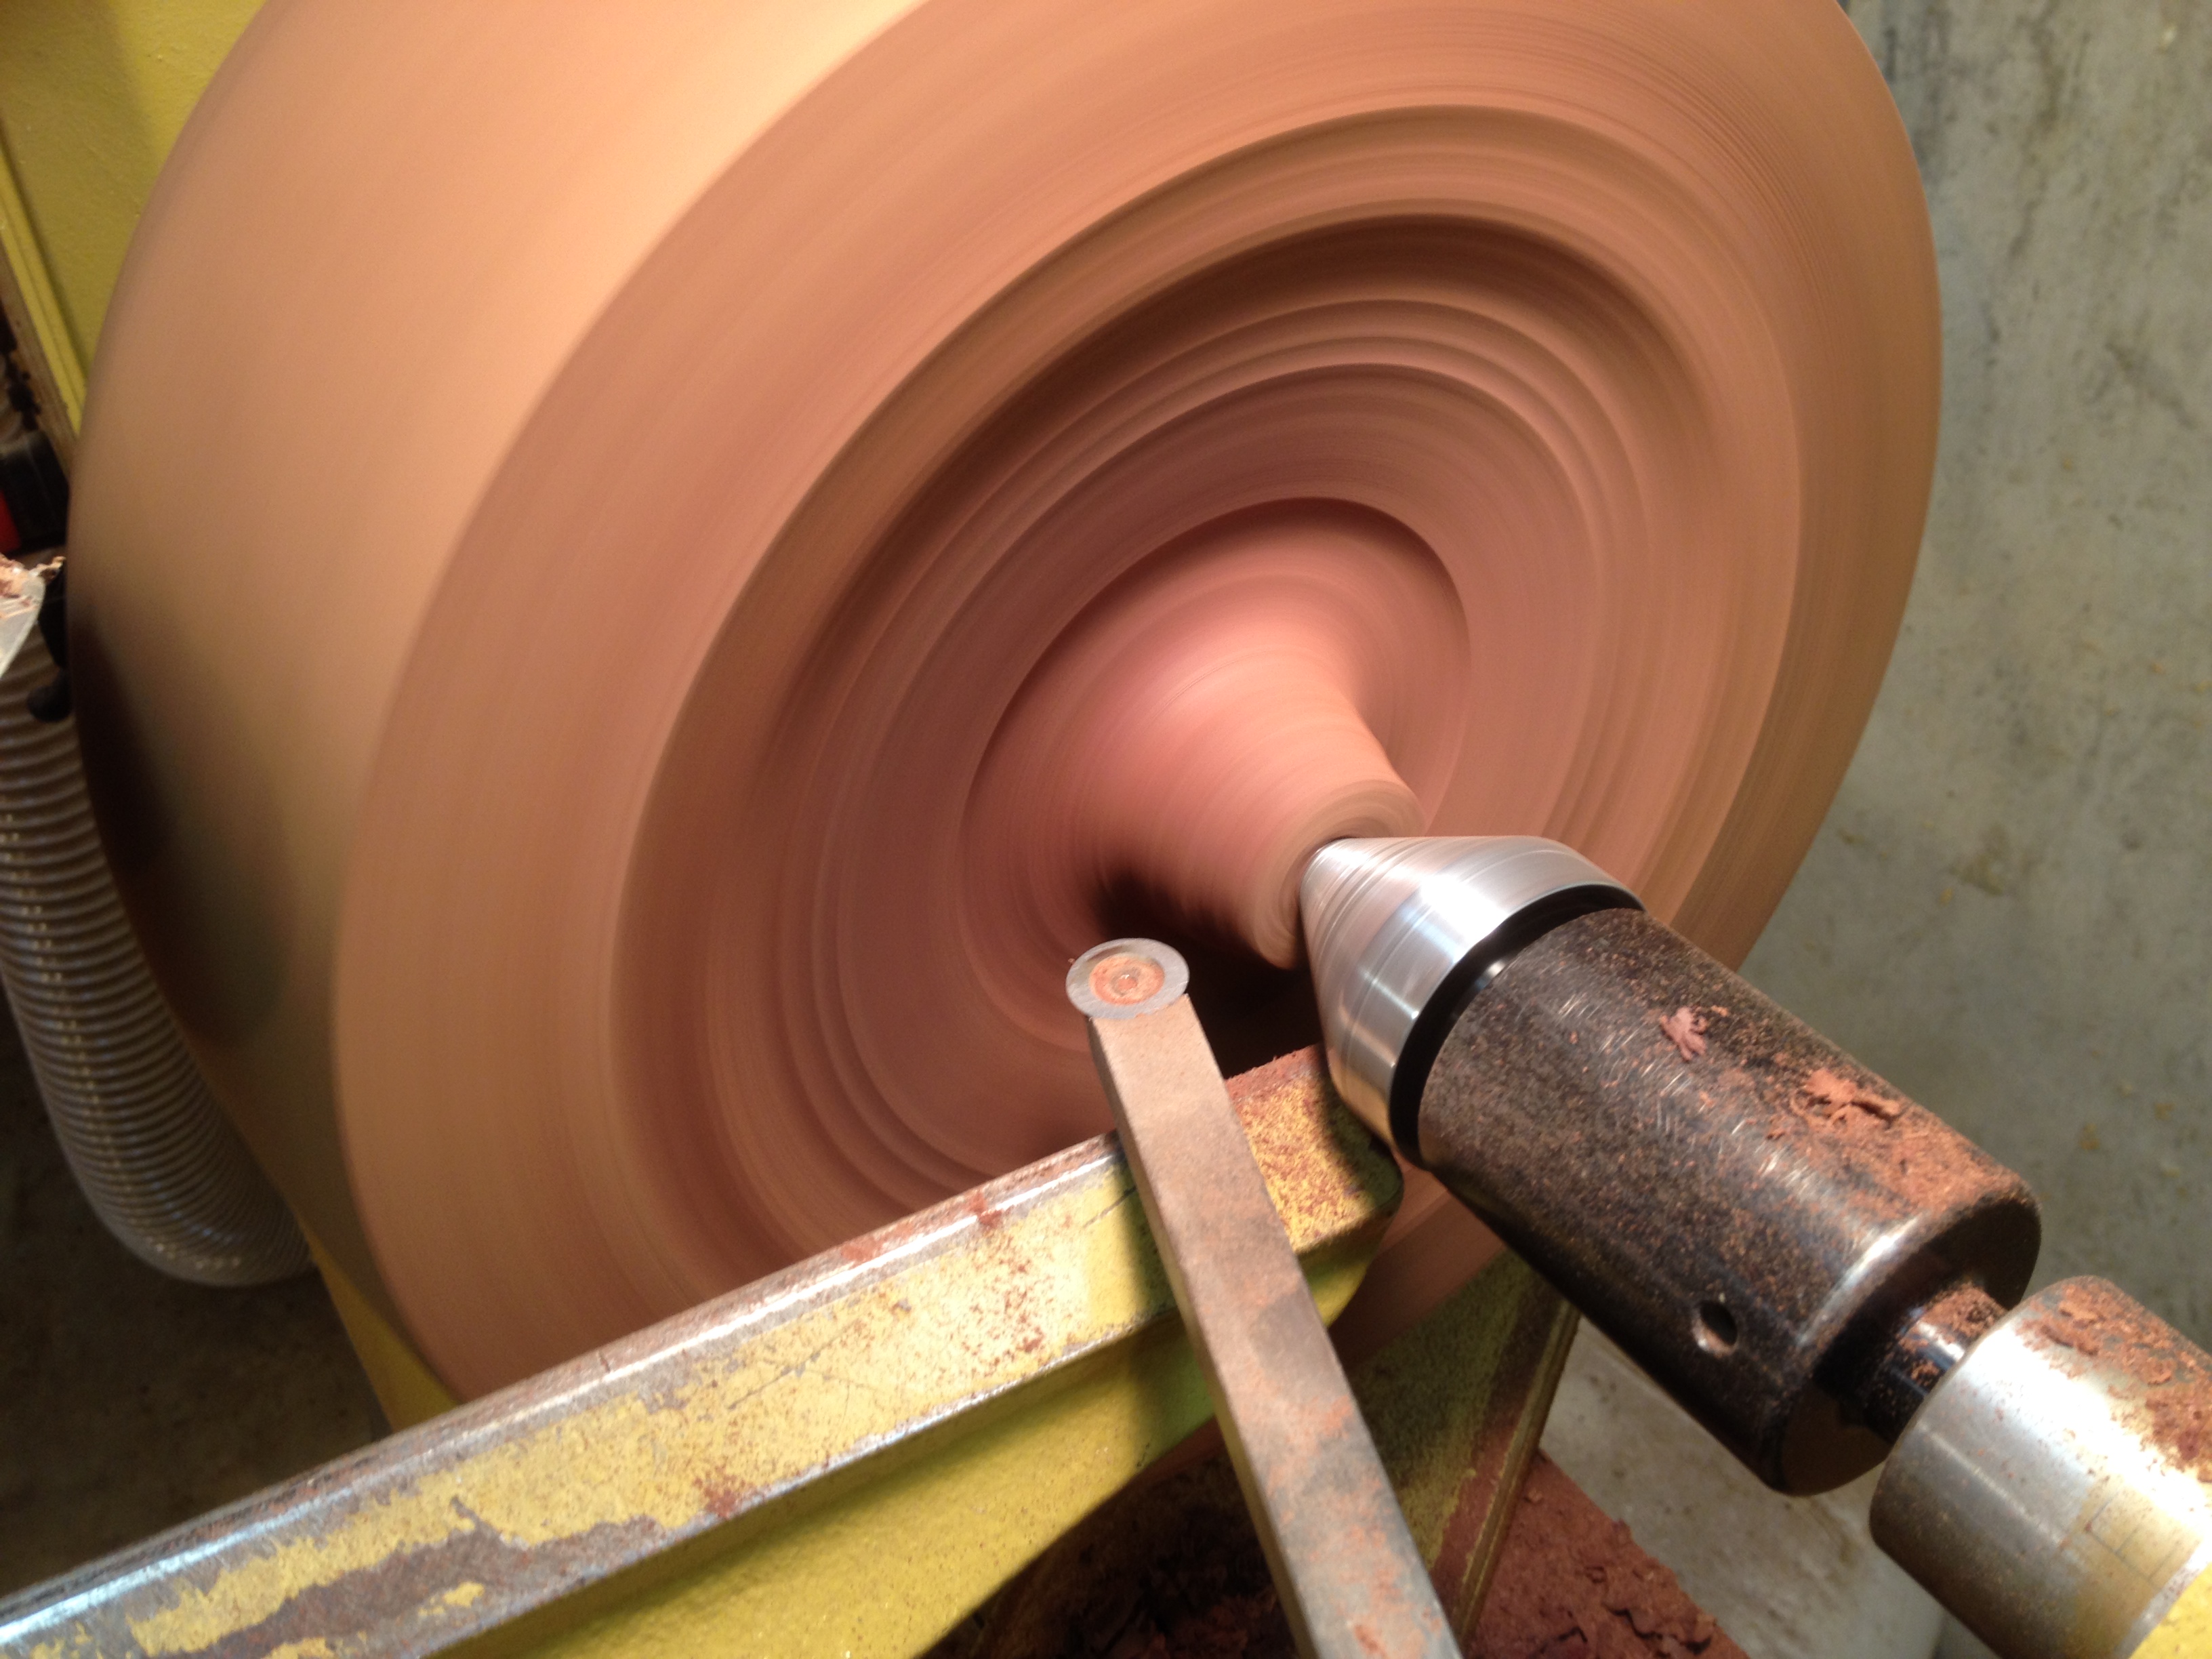
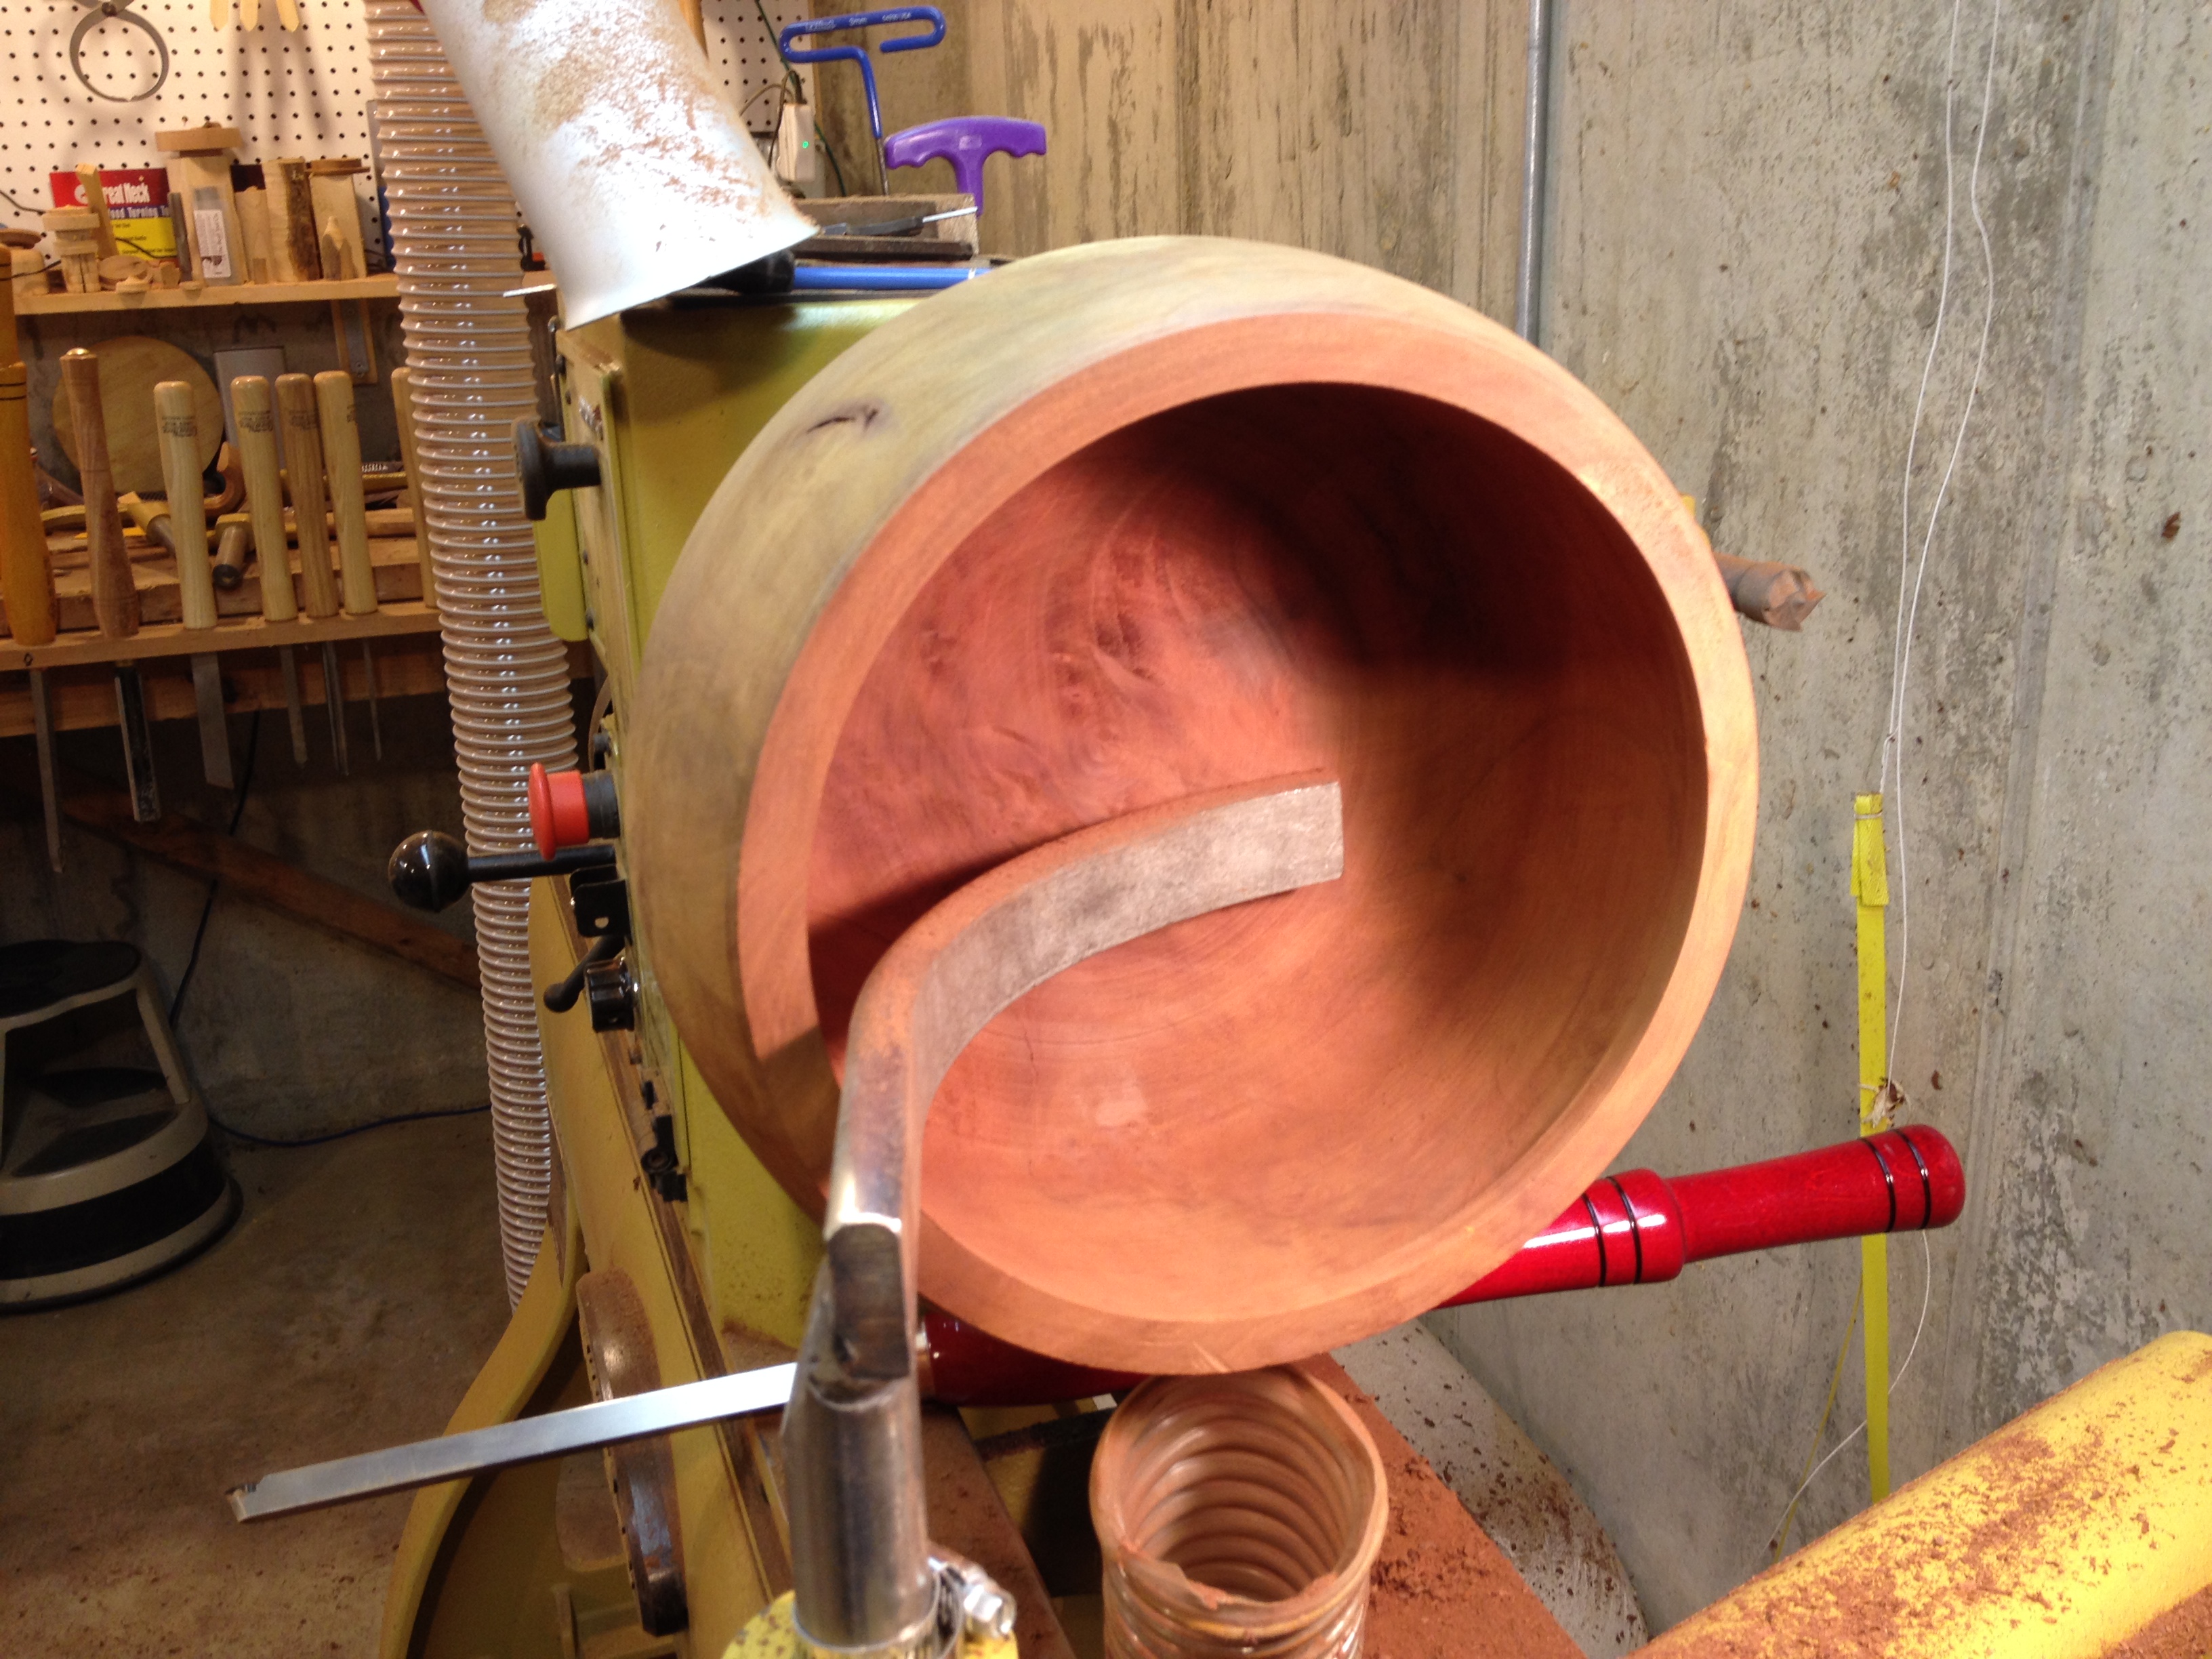
Starting on the inside – still between centers for added stability. Using the EasyWood round carbide cutter.
 After most of the inside was turned out.

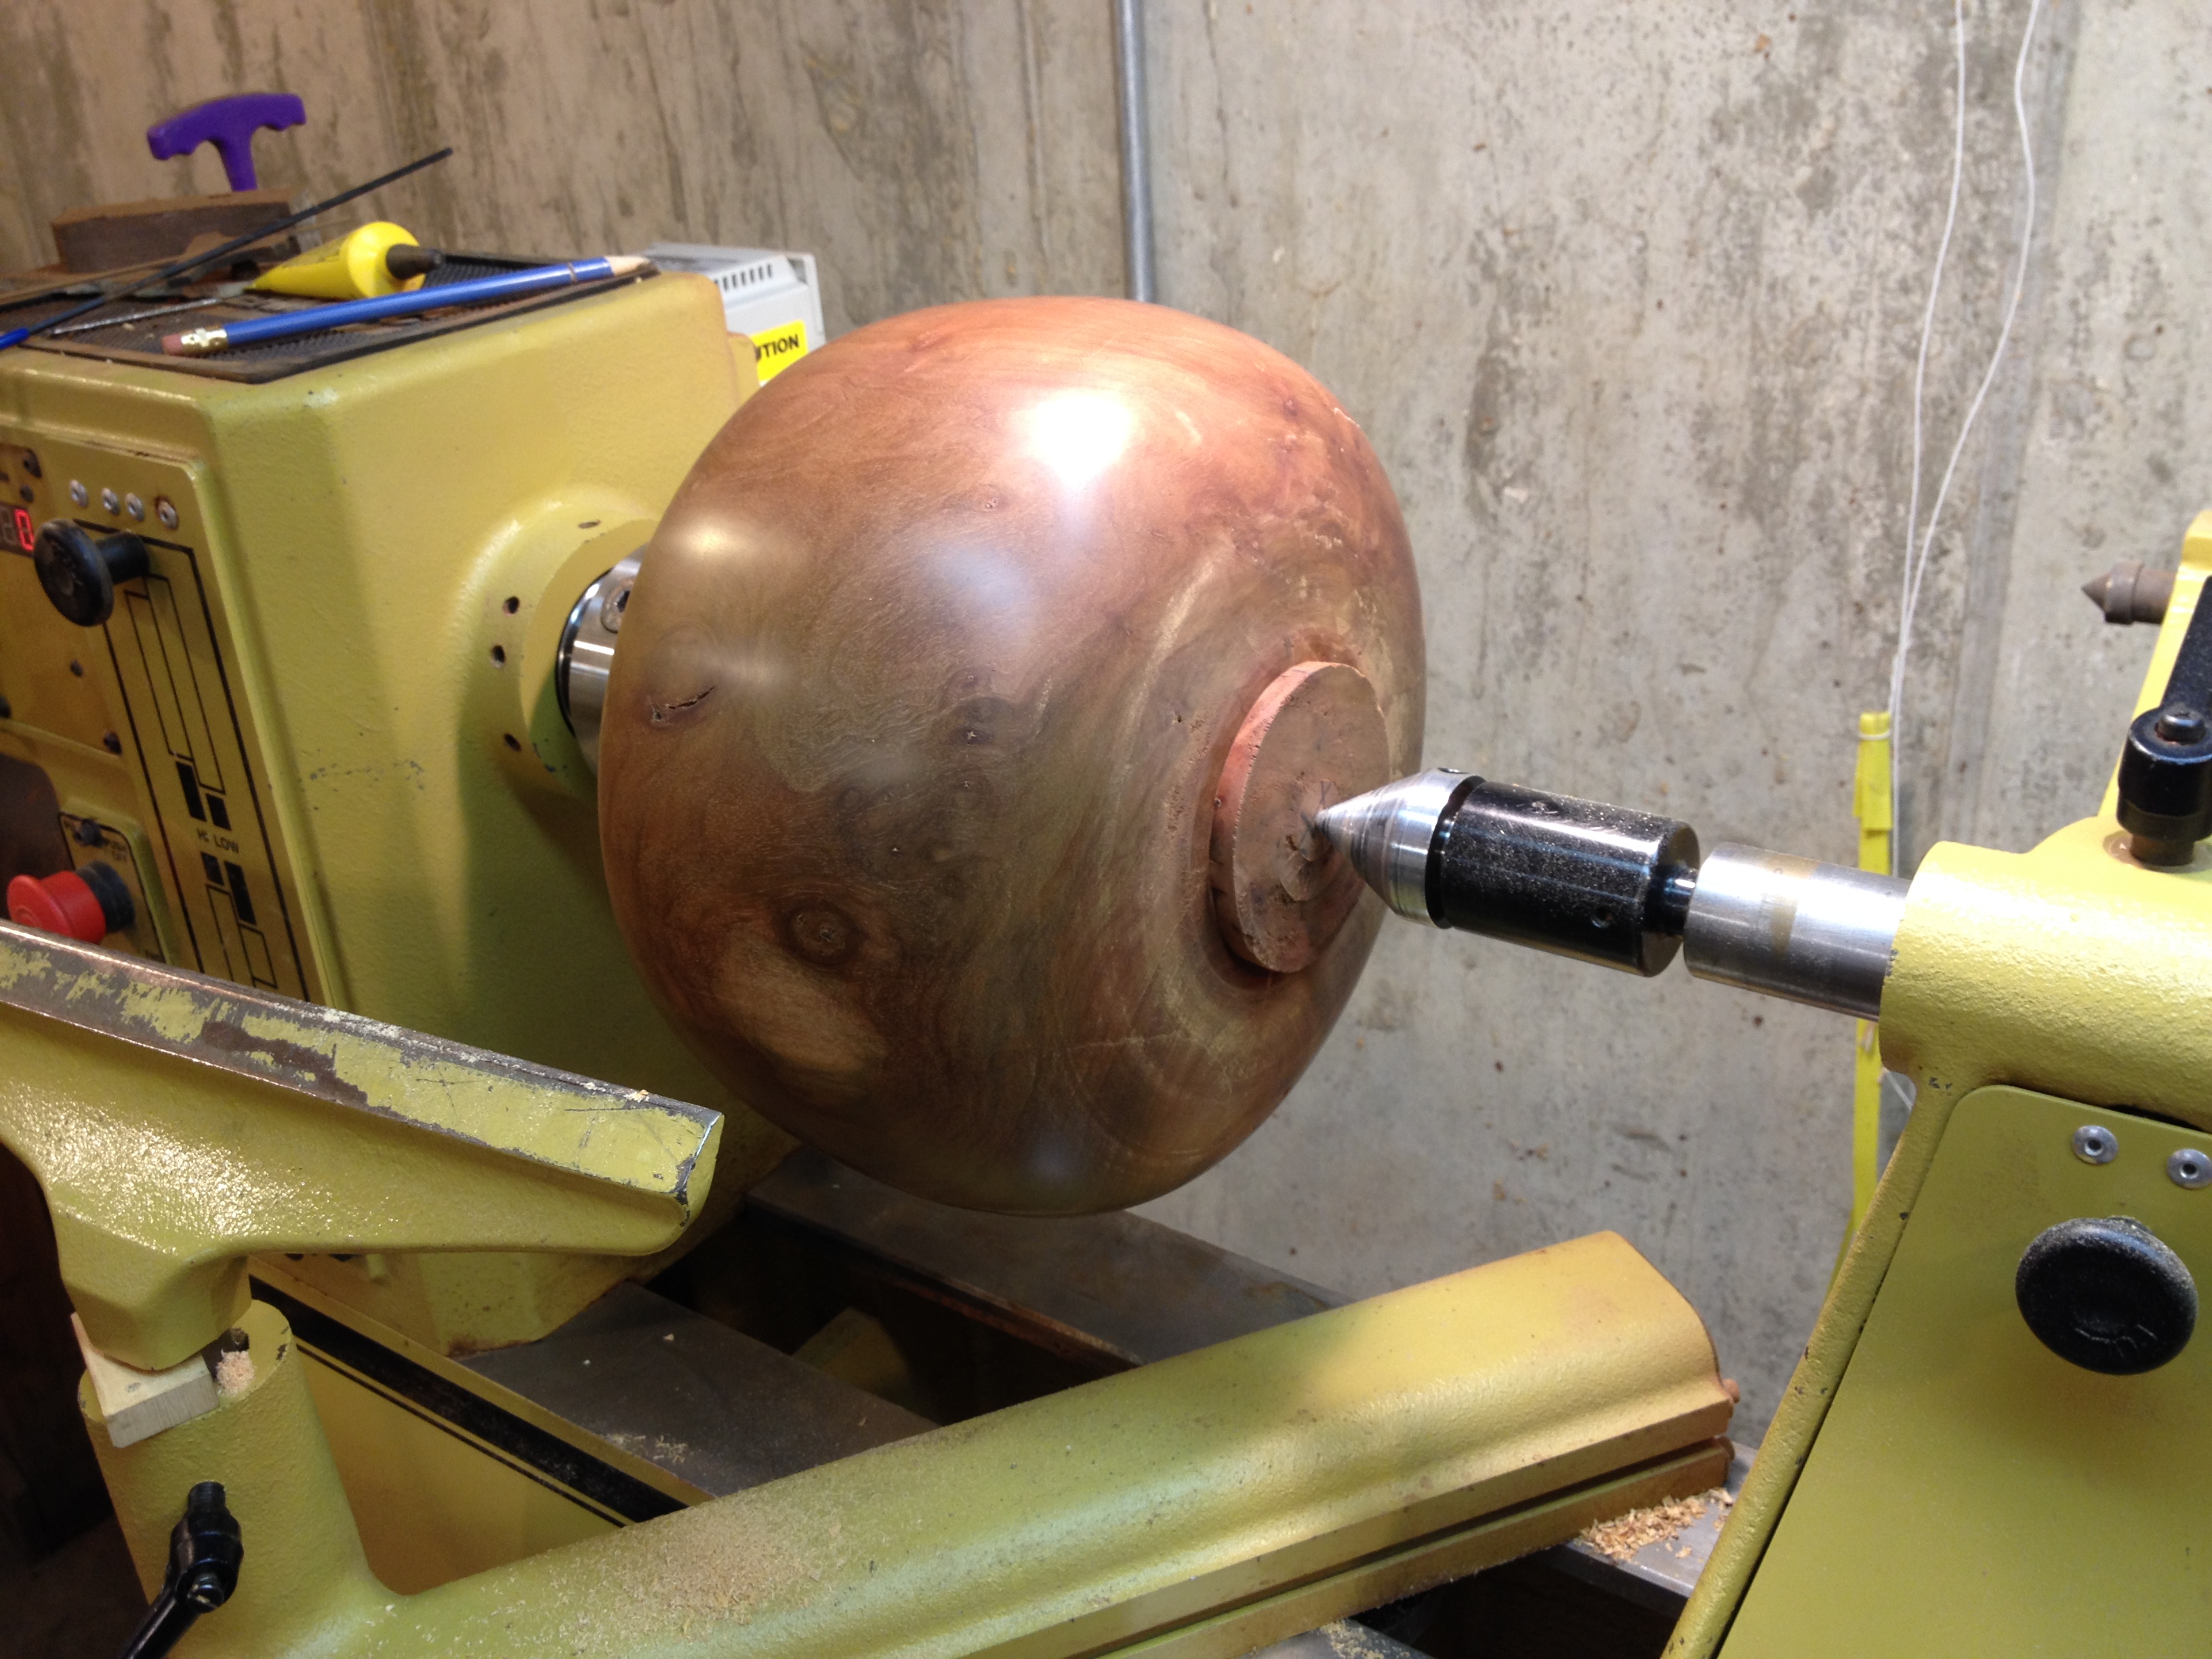
Finishing shaping and sanding of the outside 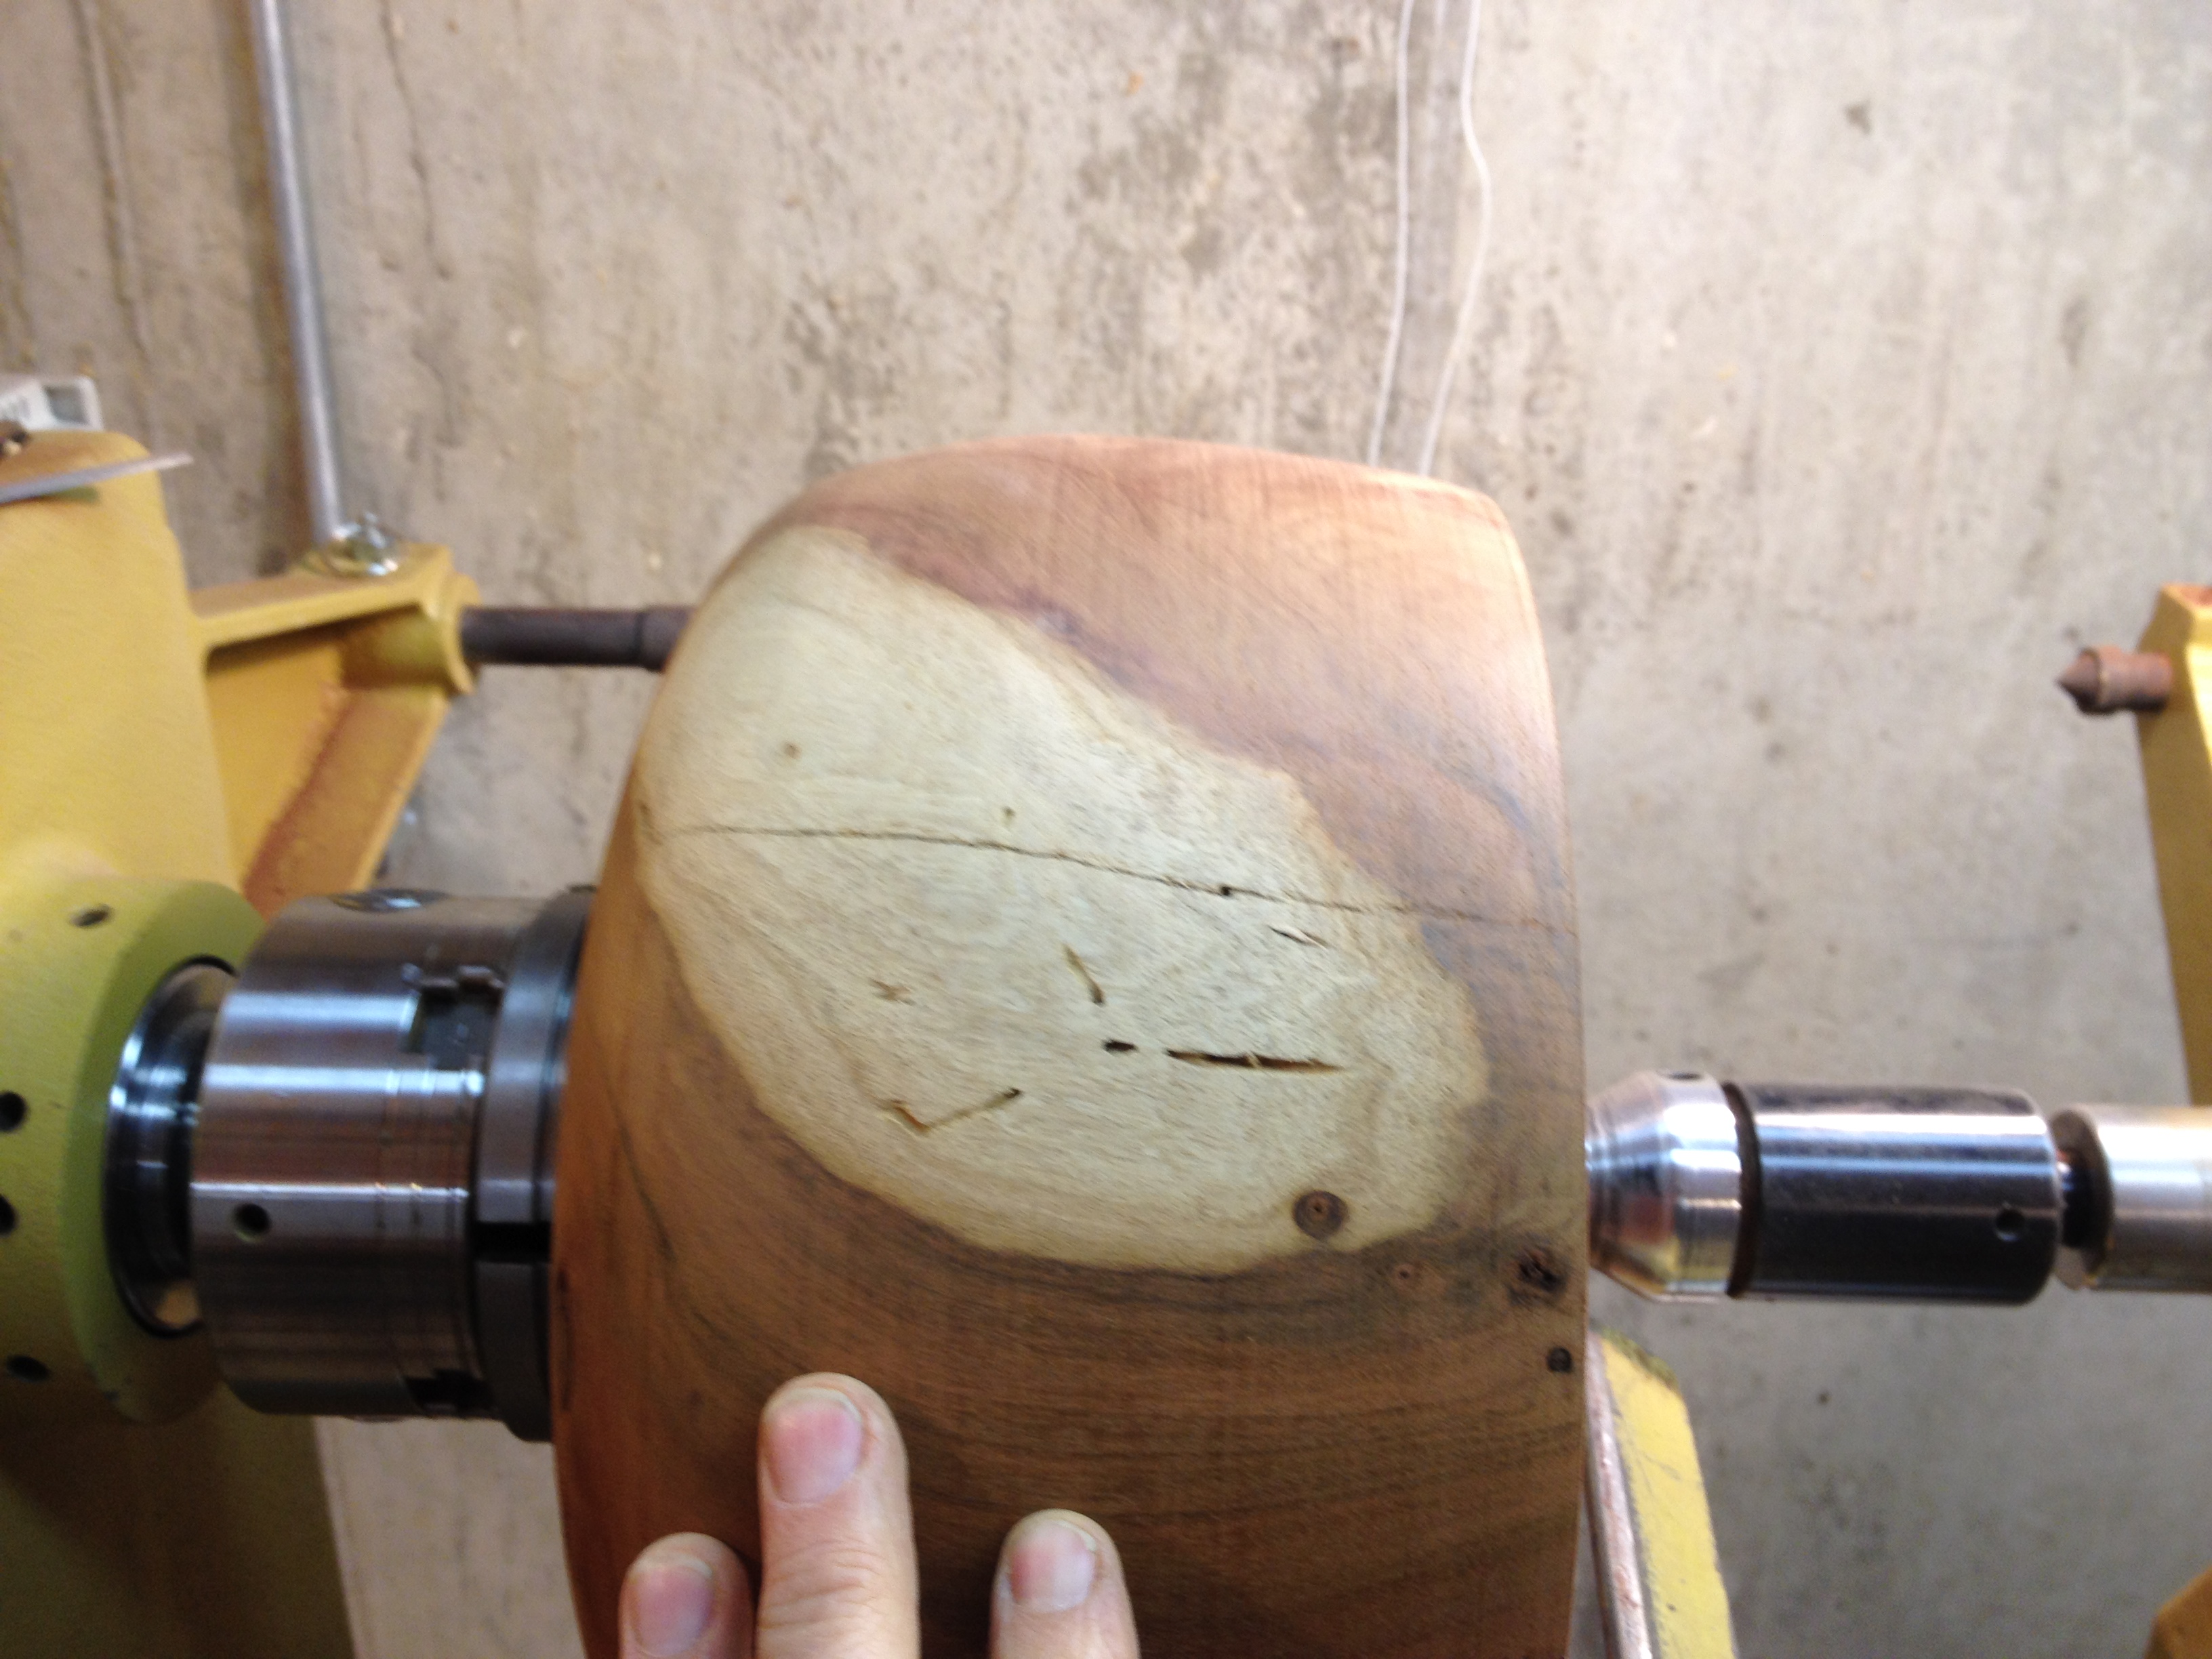
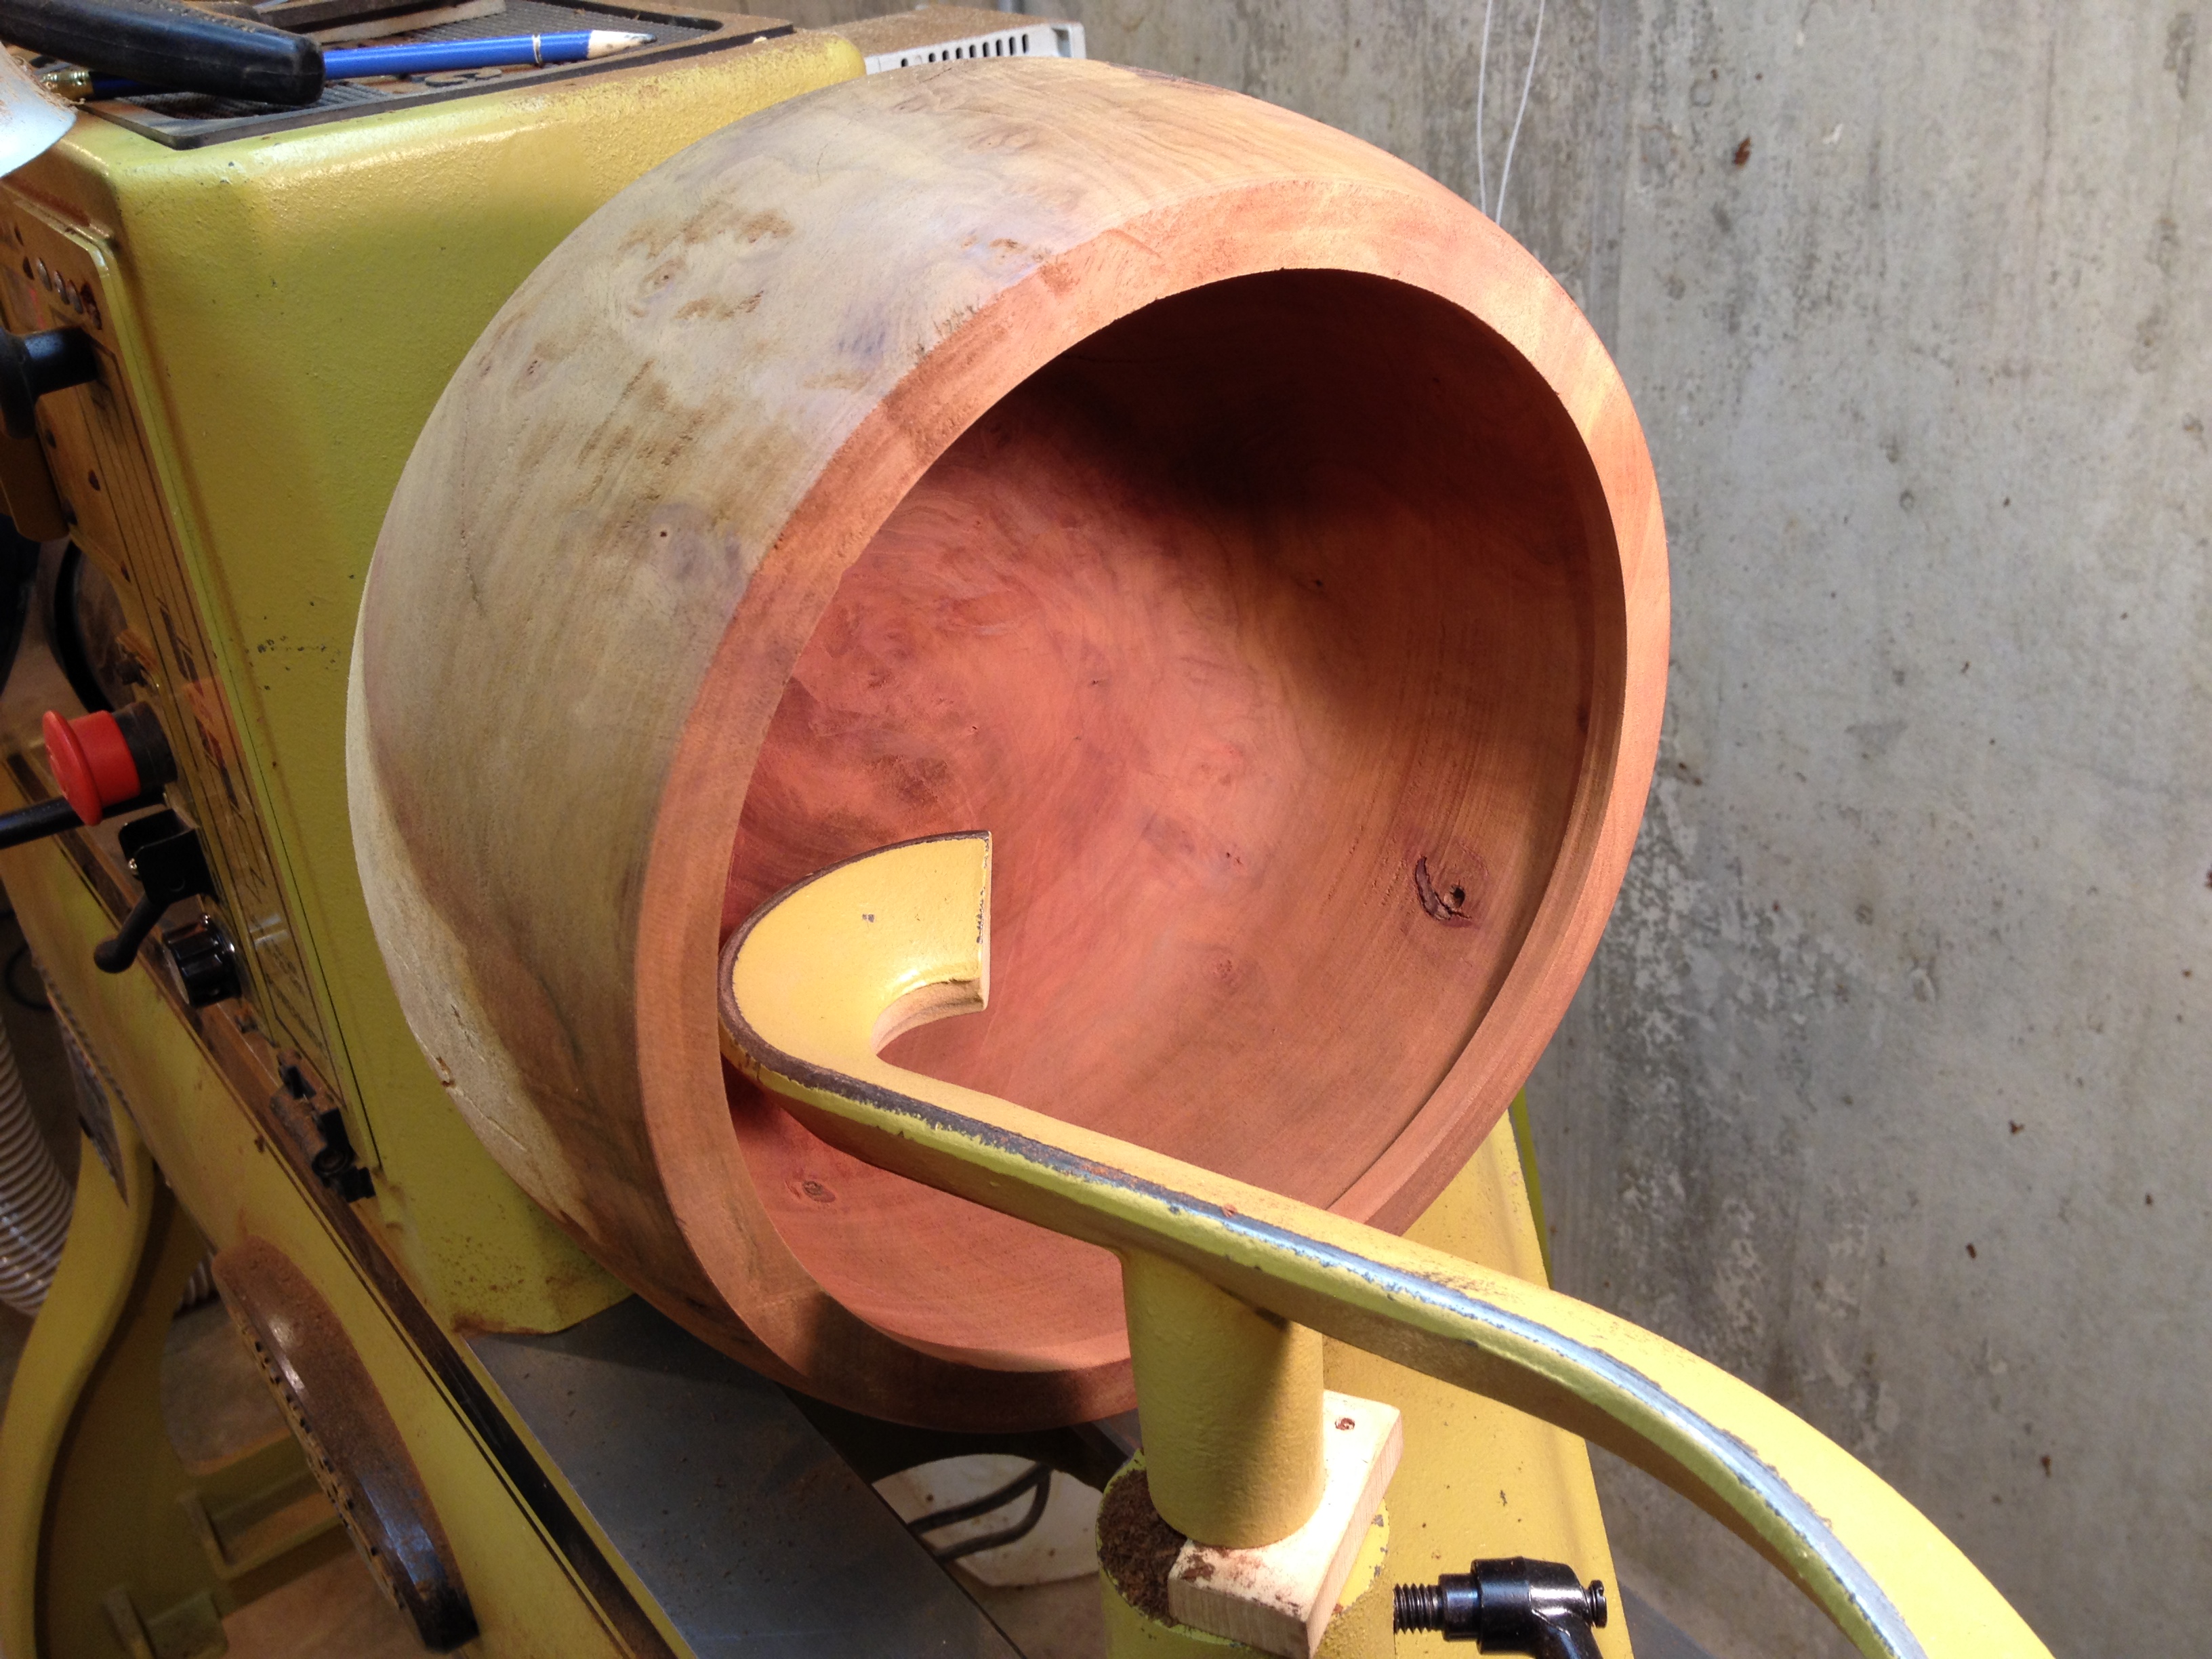
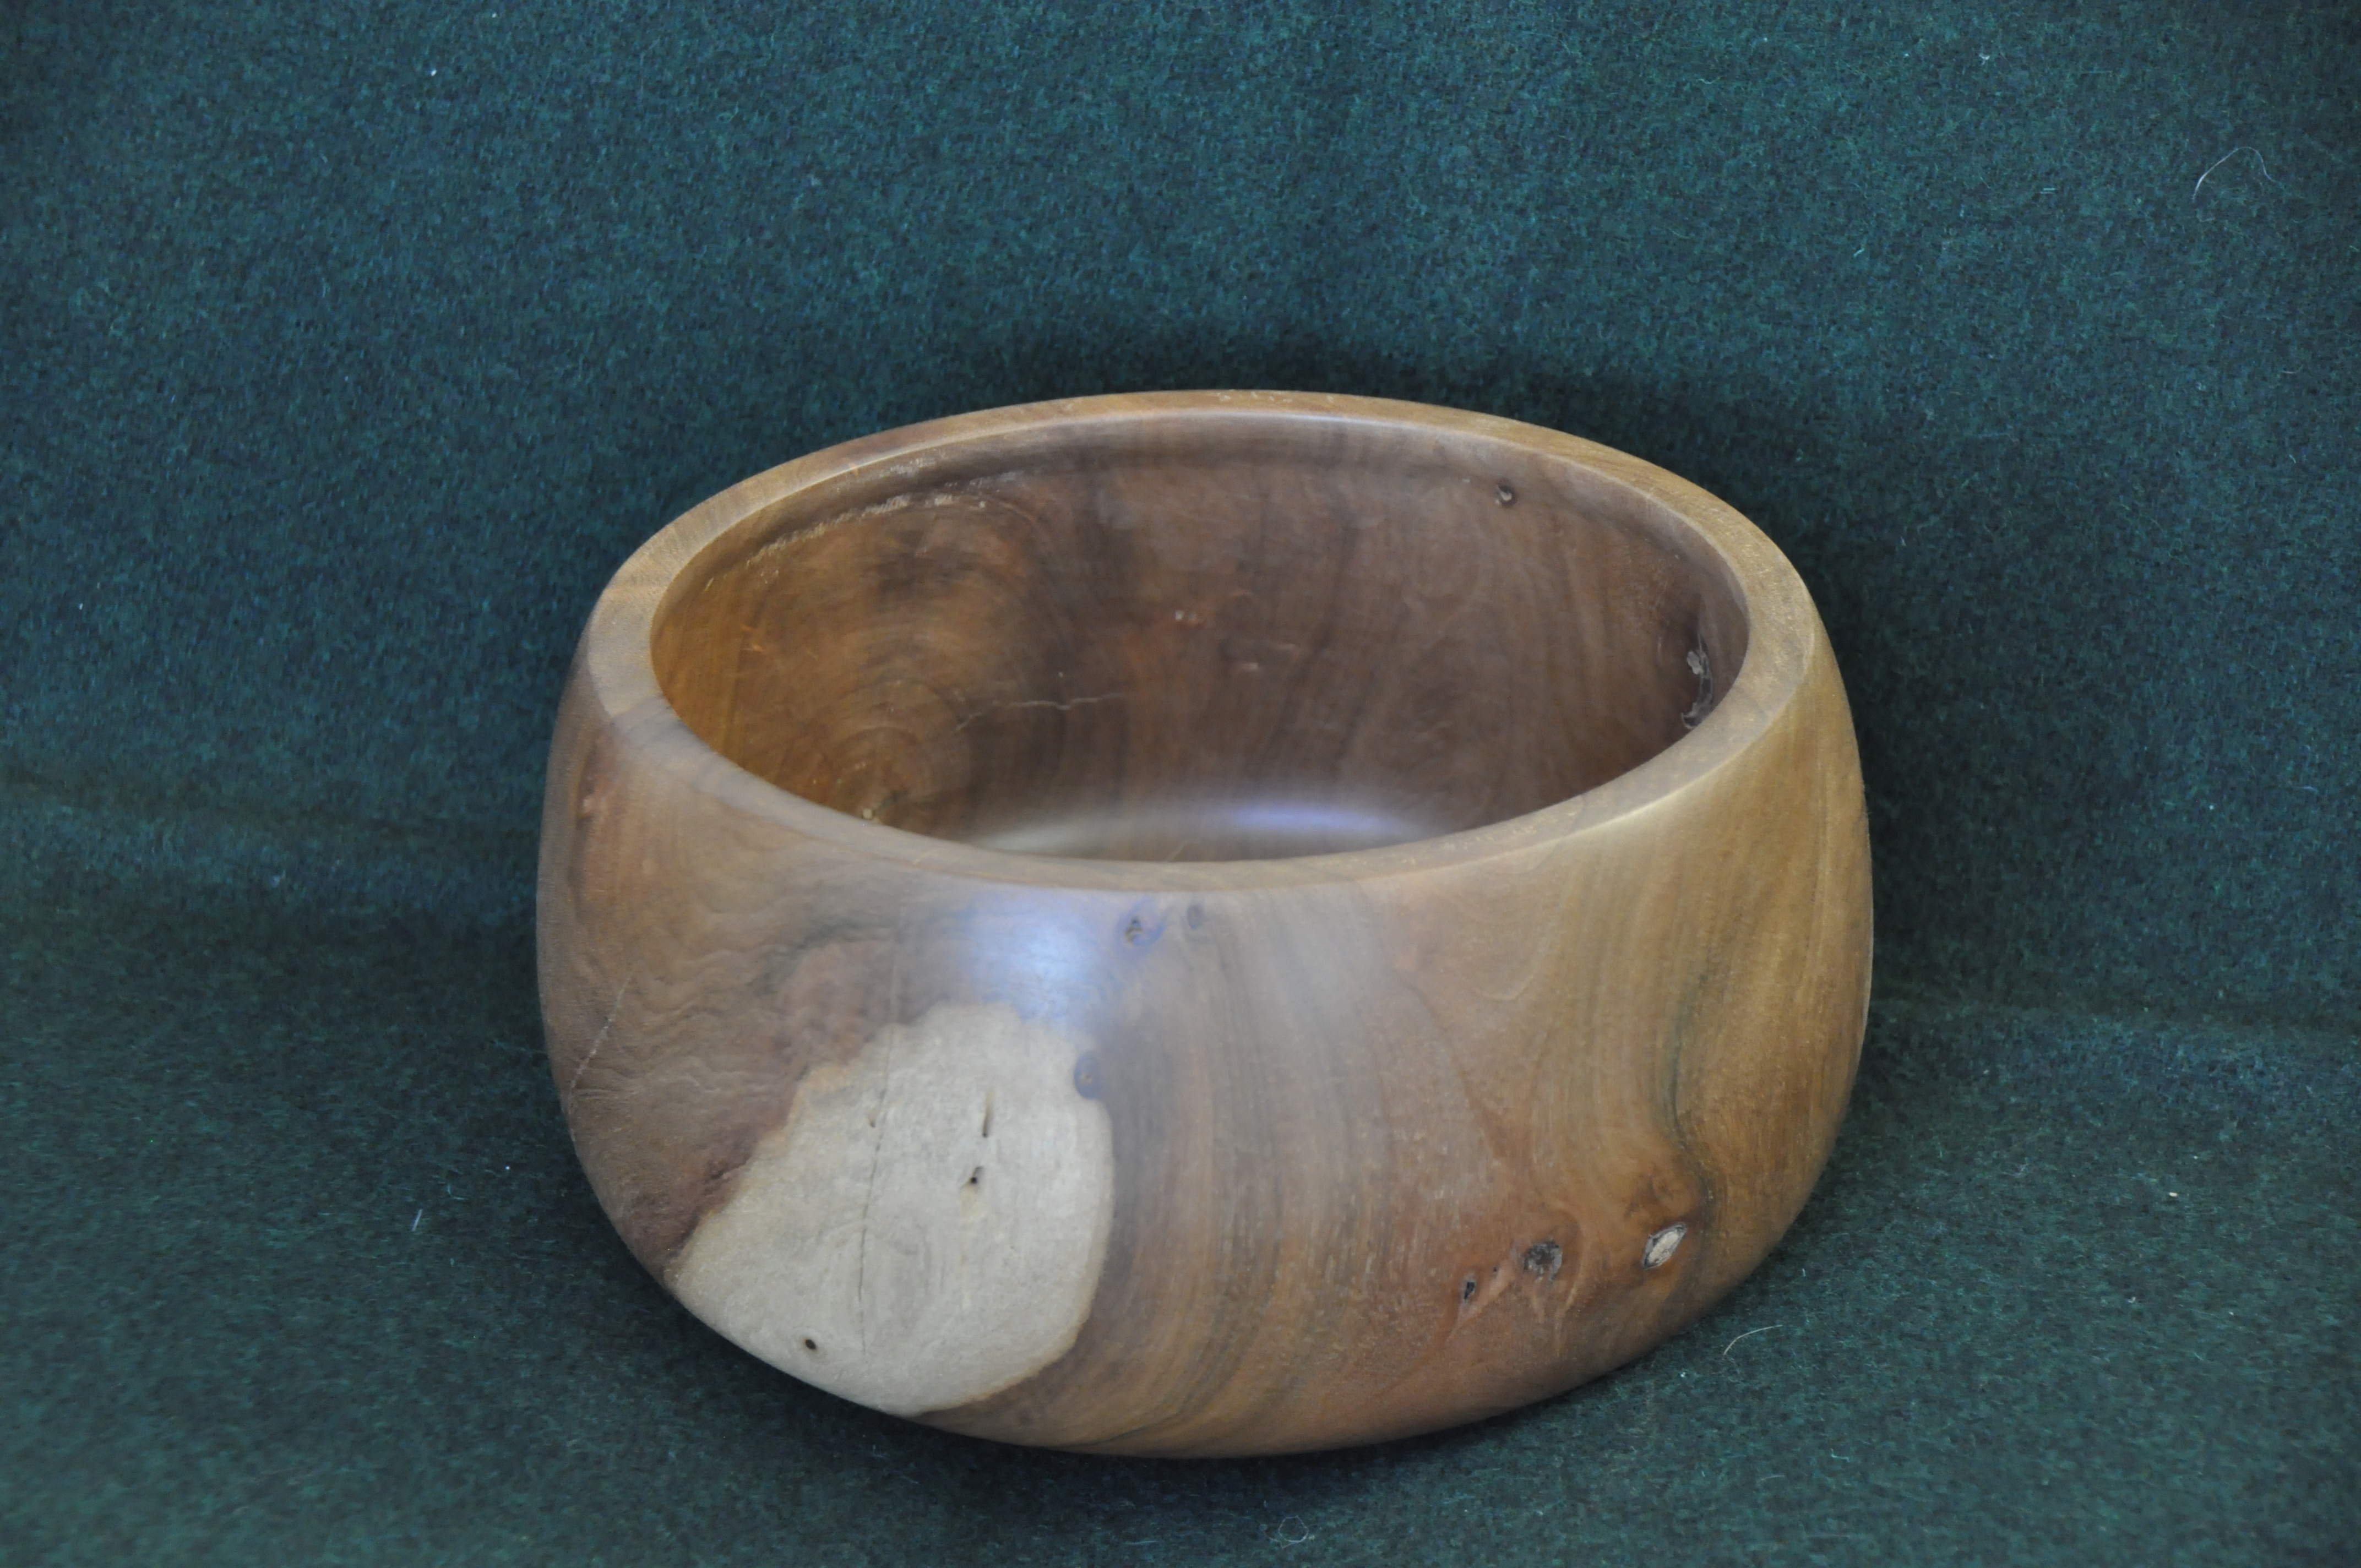
Finishing the inside after removing the center tenon.
Using a curved tool rest for getting closer to the inside walls (OD = 10")
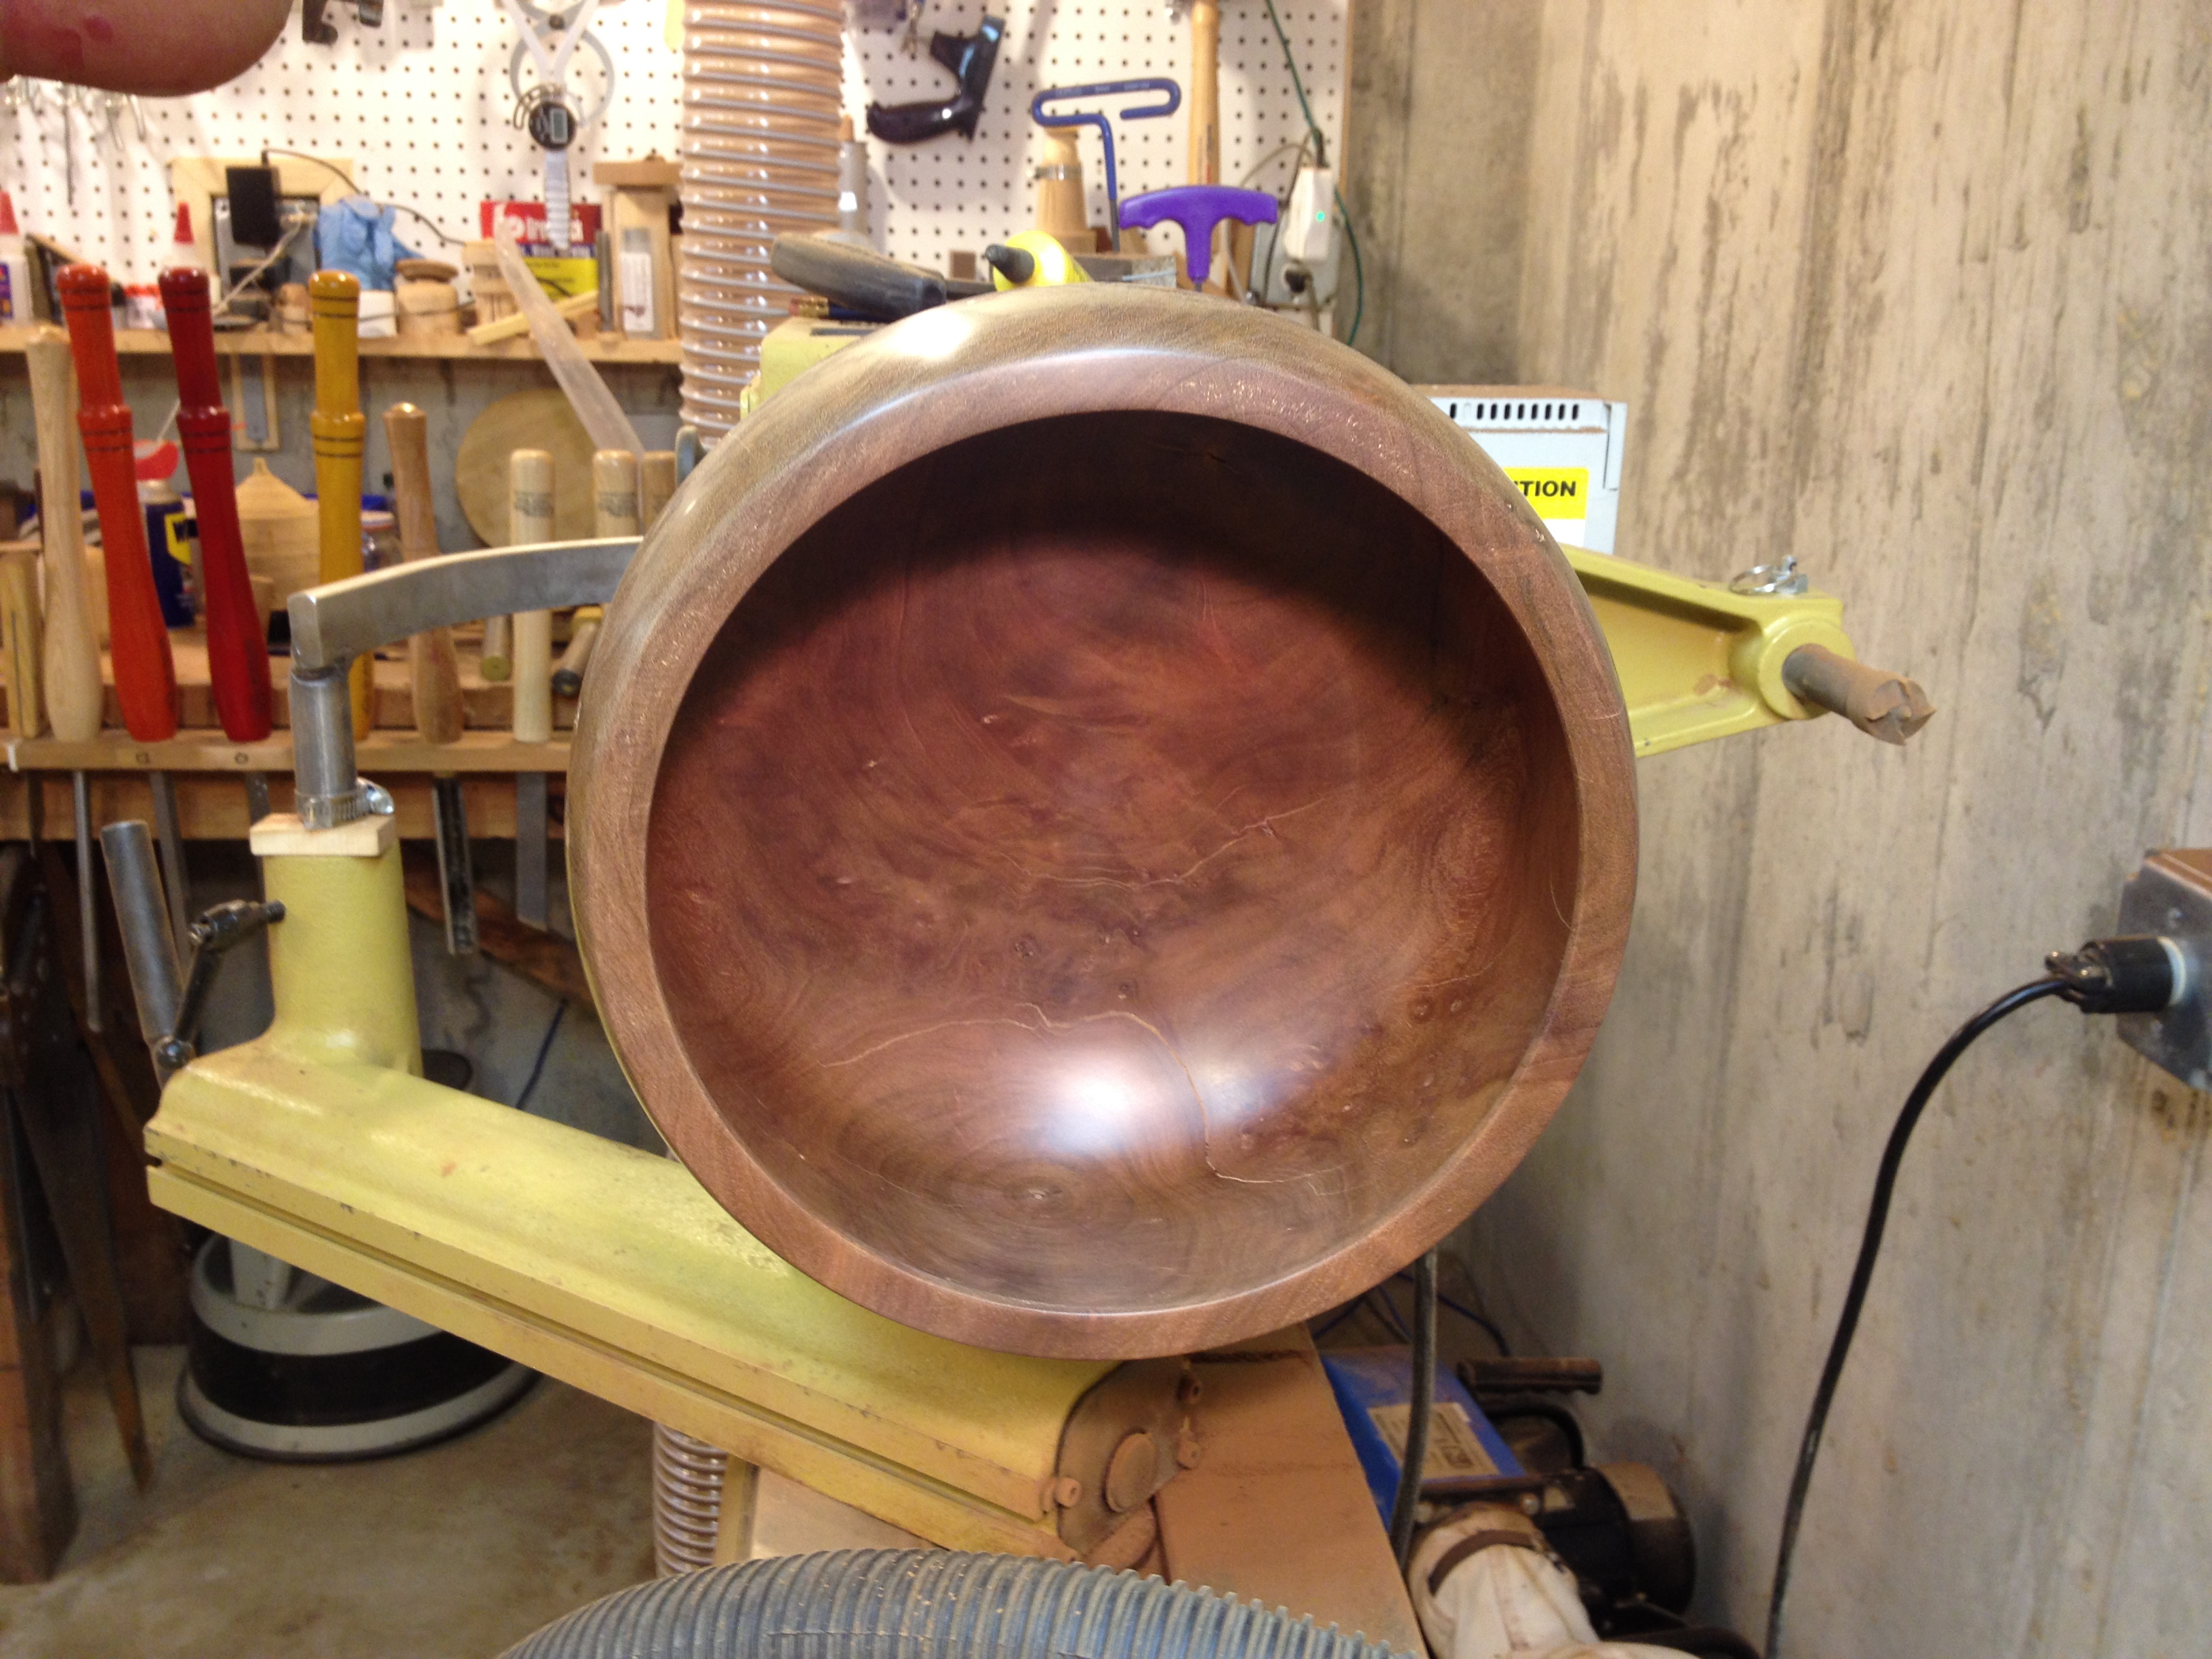
 After sanding through the grits to 1200 grit
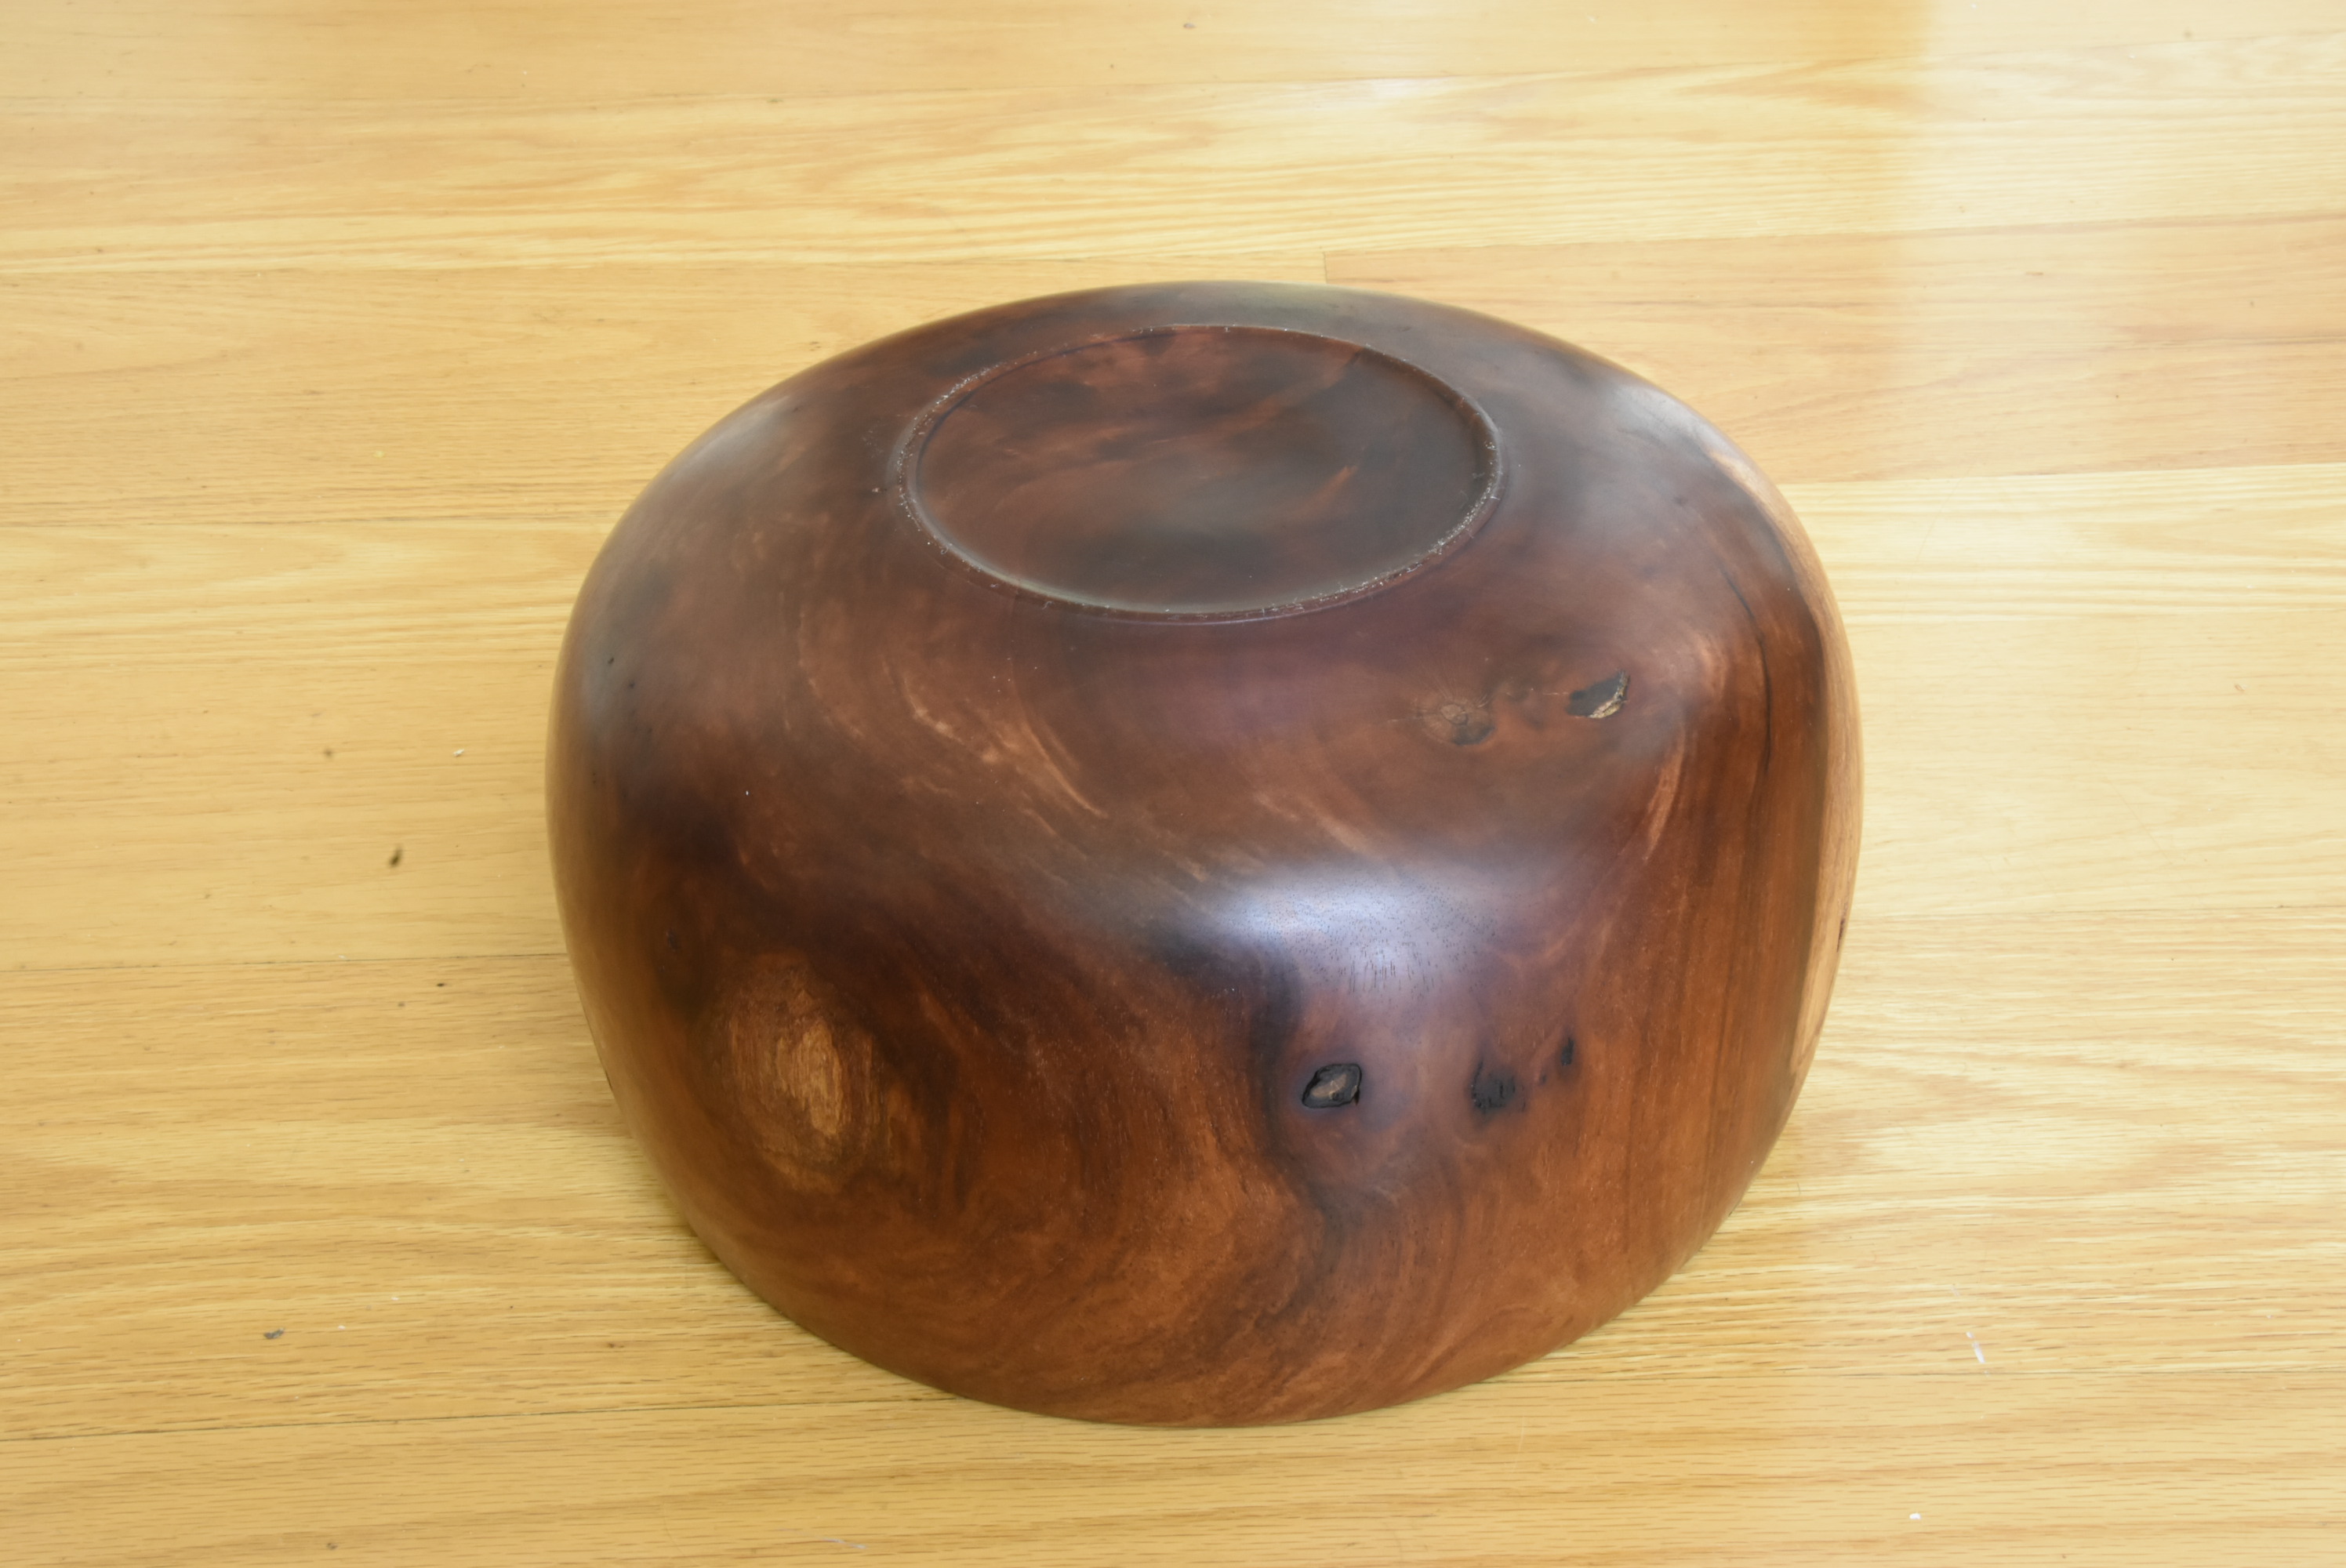
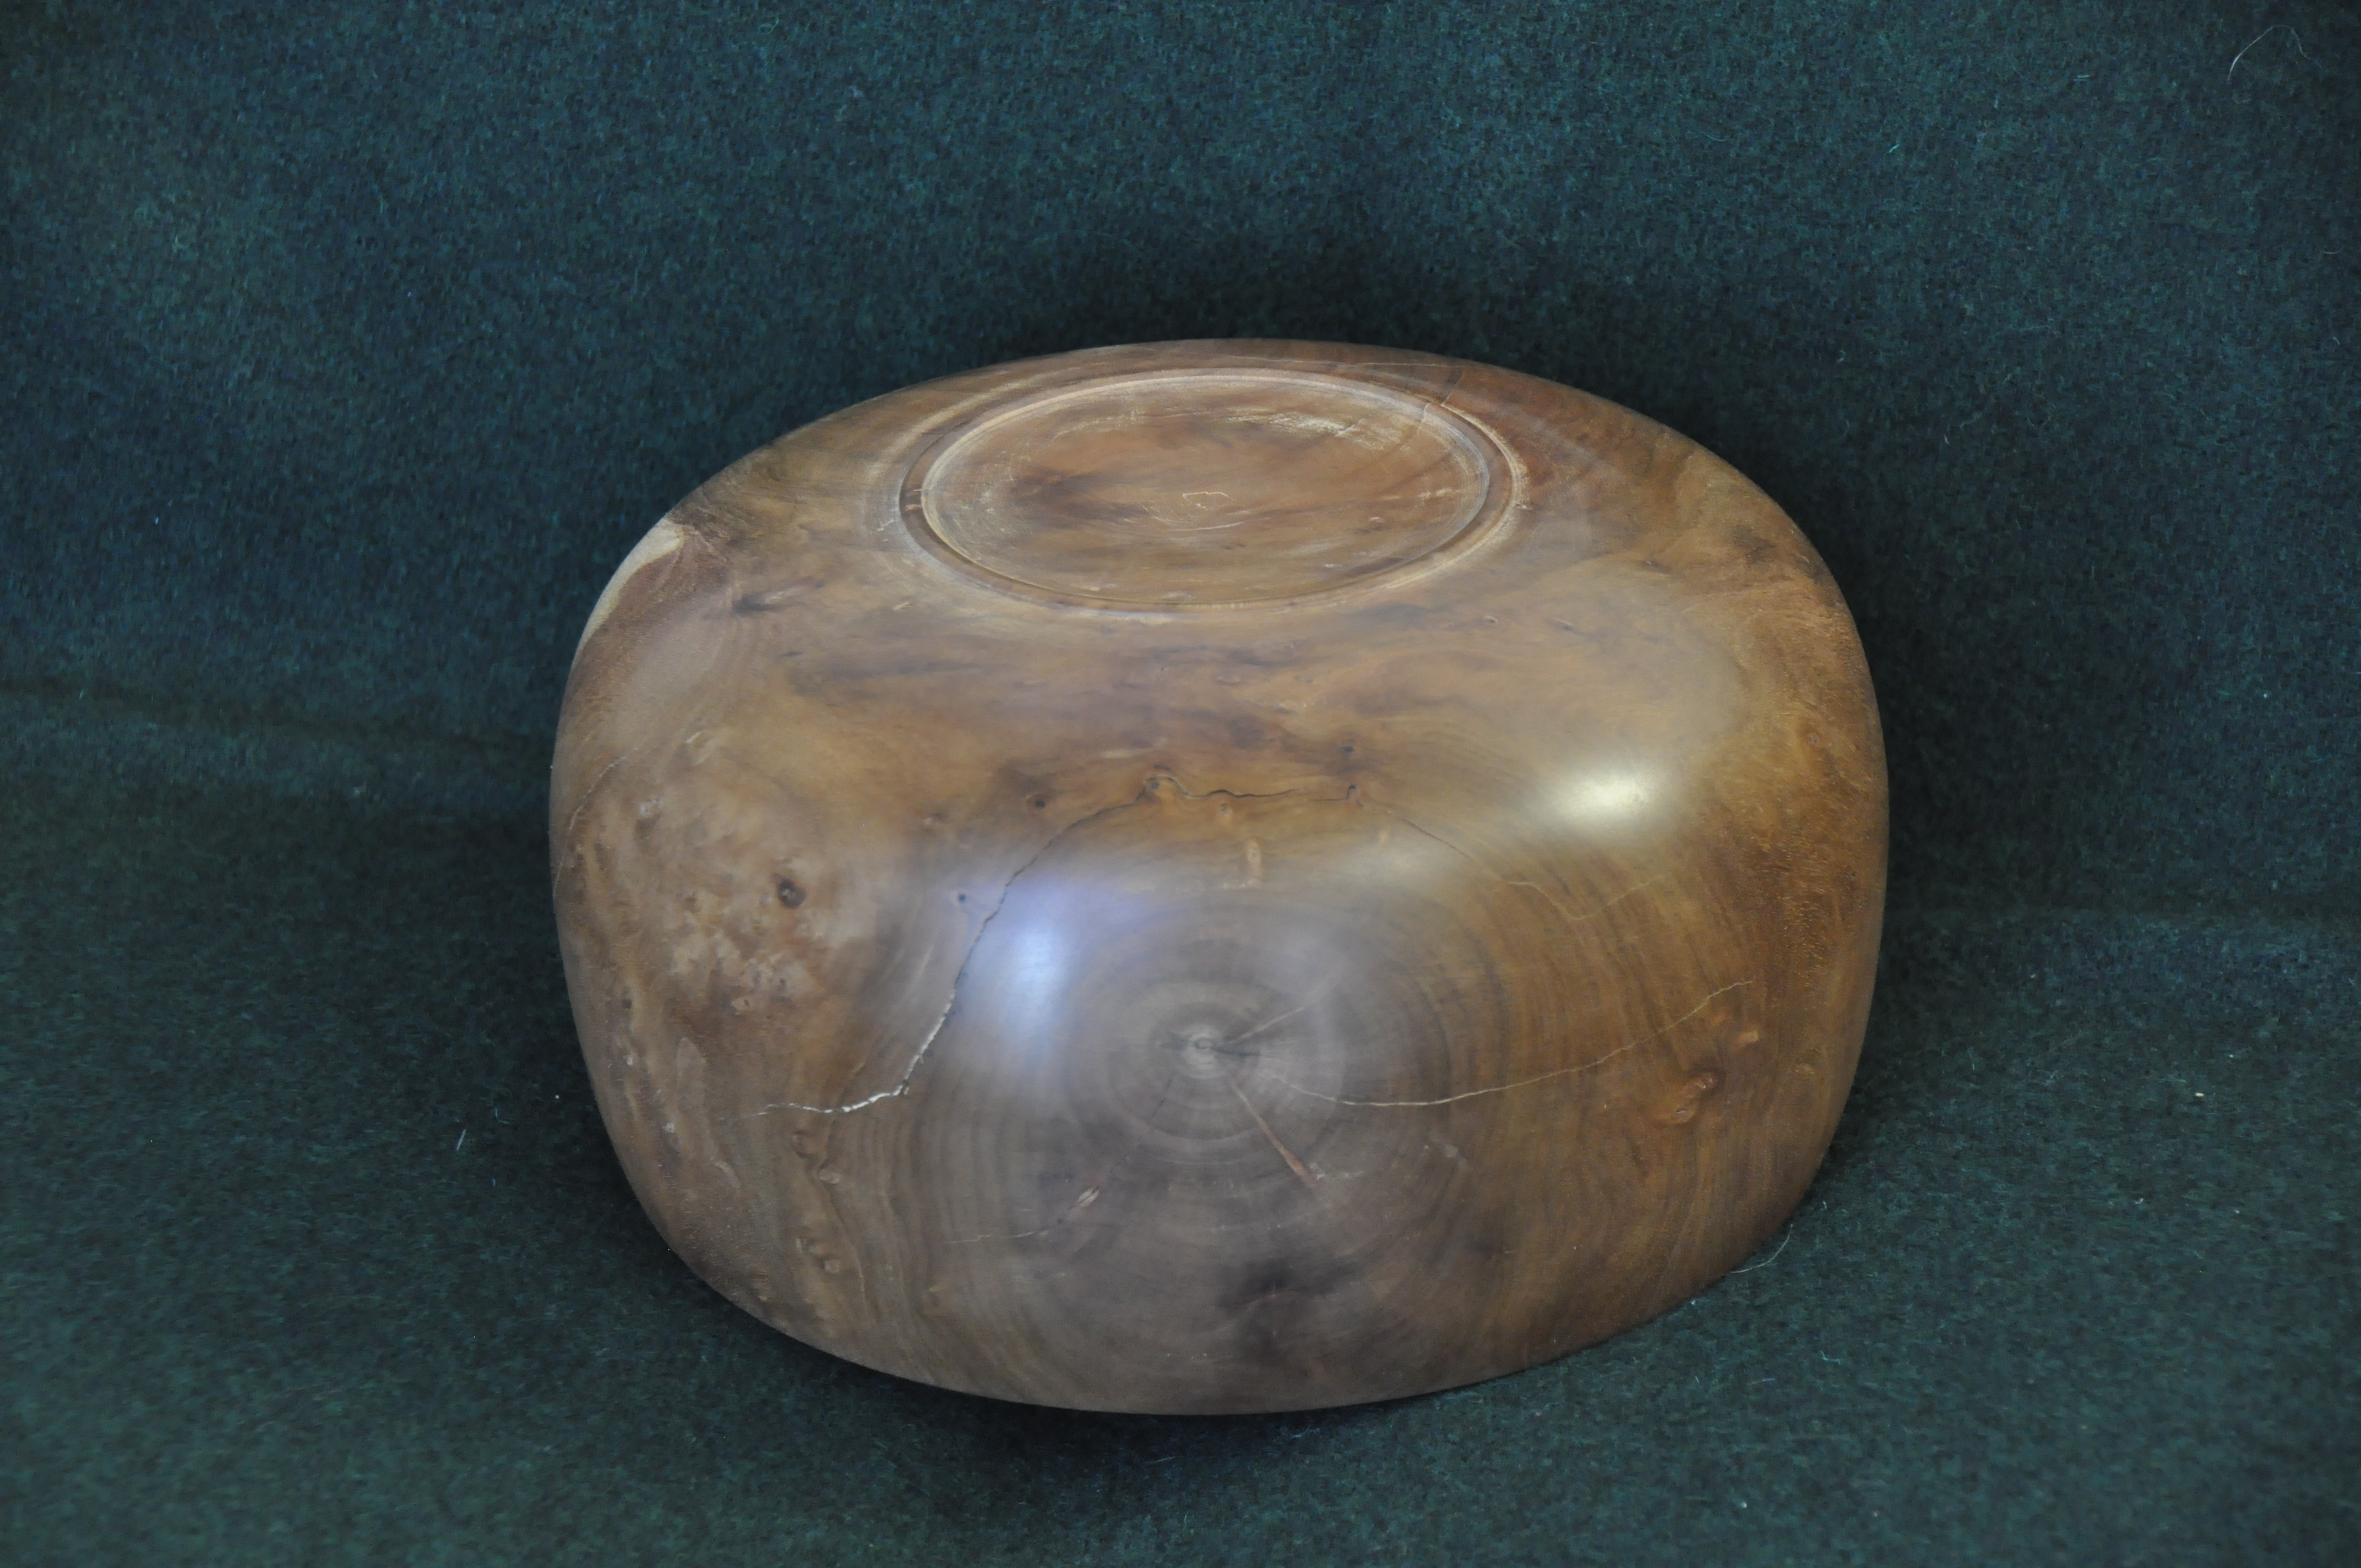
Made a jam chuck to finish off the bottom
Used rubber shelving liner to provide friction and cushion between the jam chuck and the bowl.
(Not a good idea: it left stains on the inside that had to be sanded out: Next time I'll try some other material)
The bowl was centered on the jam chuck using the divot left by the live center that was used for turning the tenon.
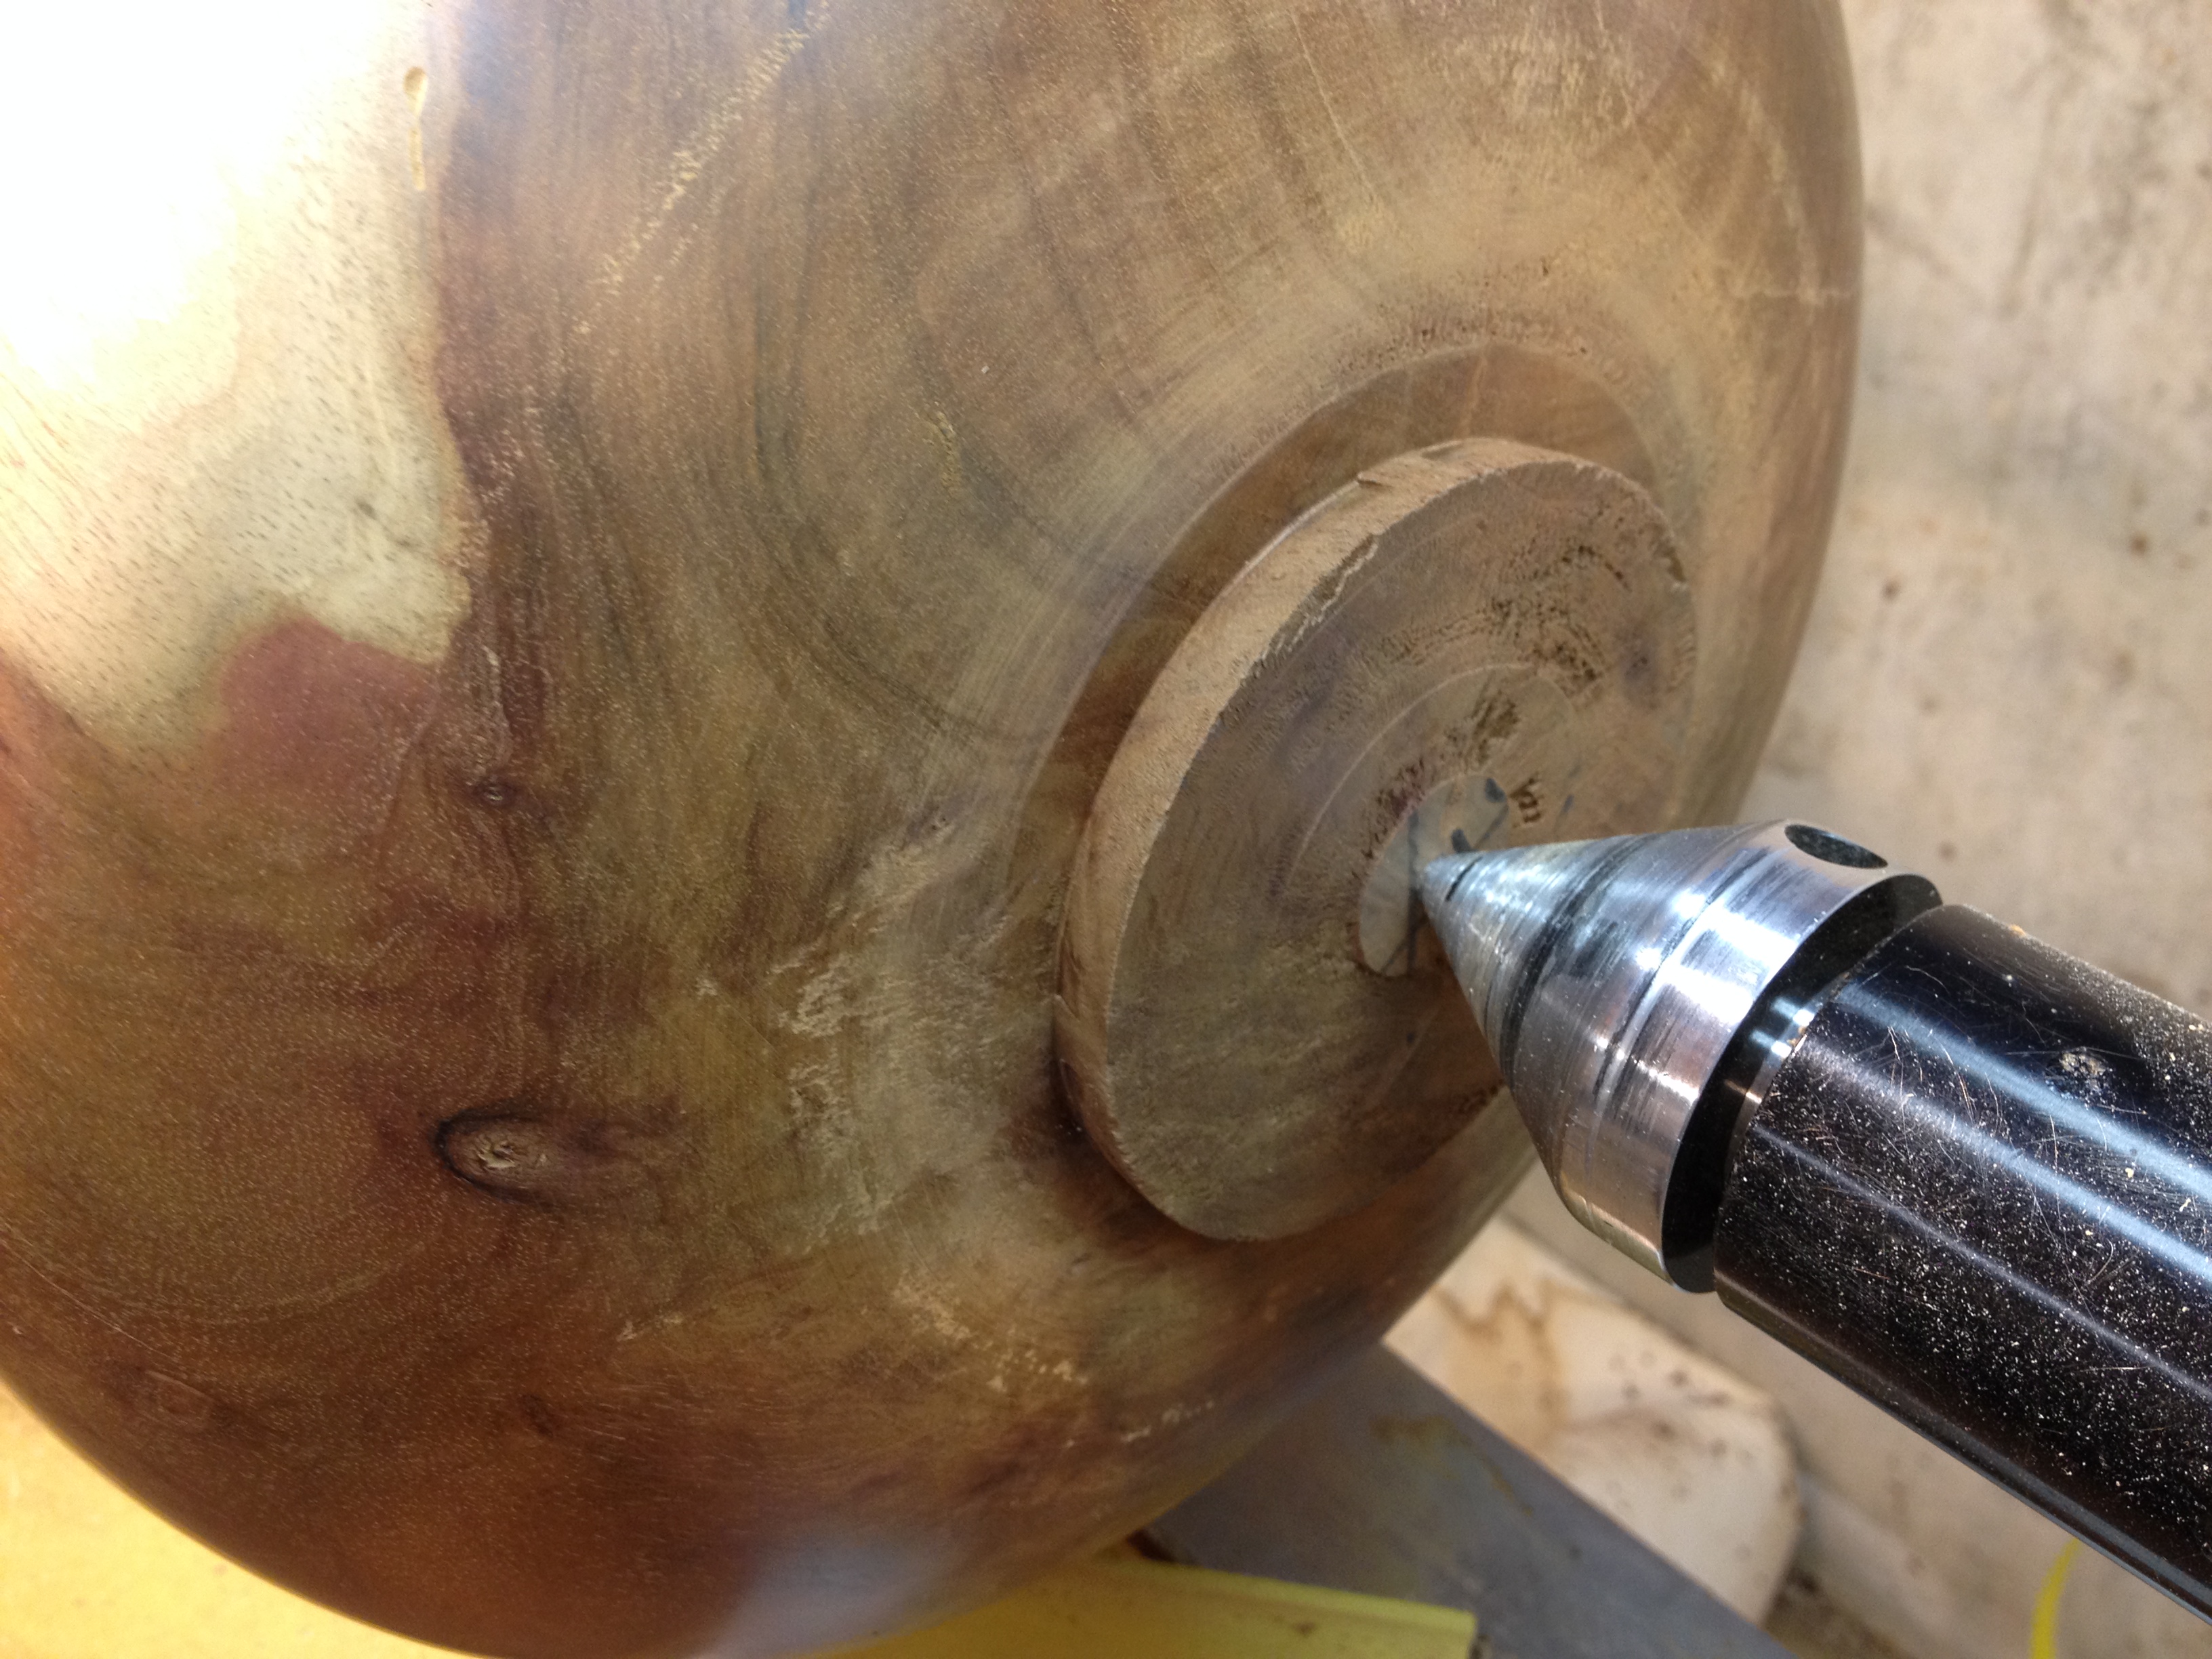
Mounted on the jam chuck:

I turned most of the bottom while it was in the jam chuck but I had to leave a little nub that I carefully removed with a chisel. And then I sanded the bottom off the lathe.
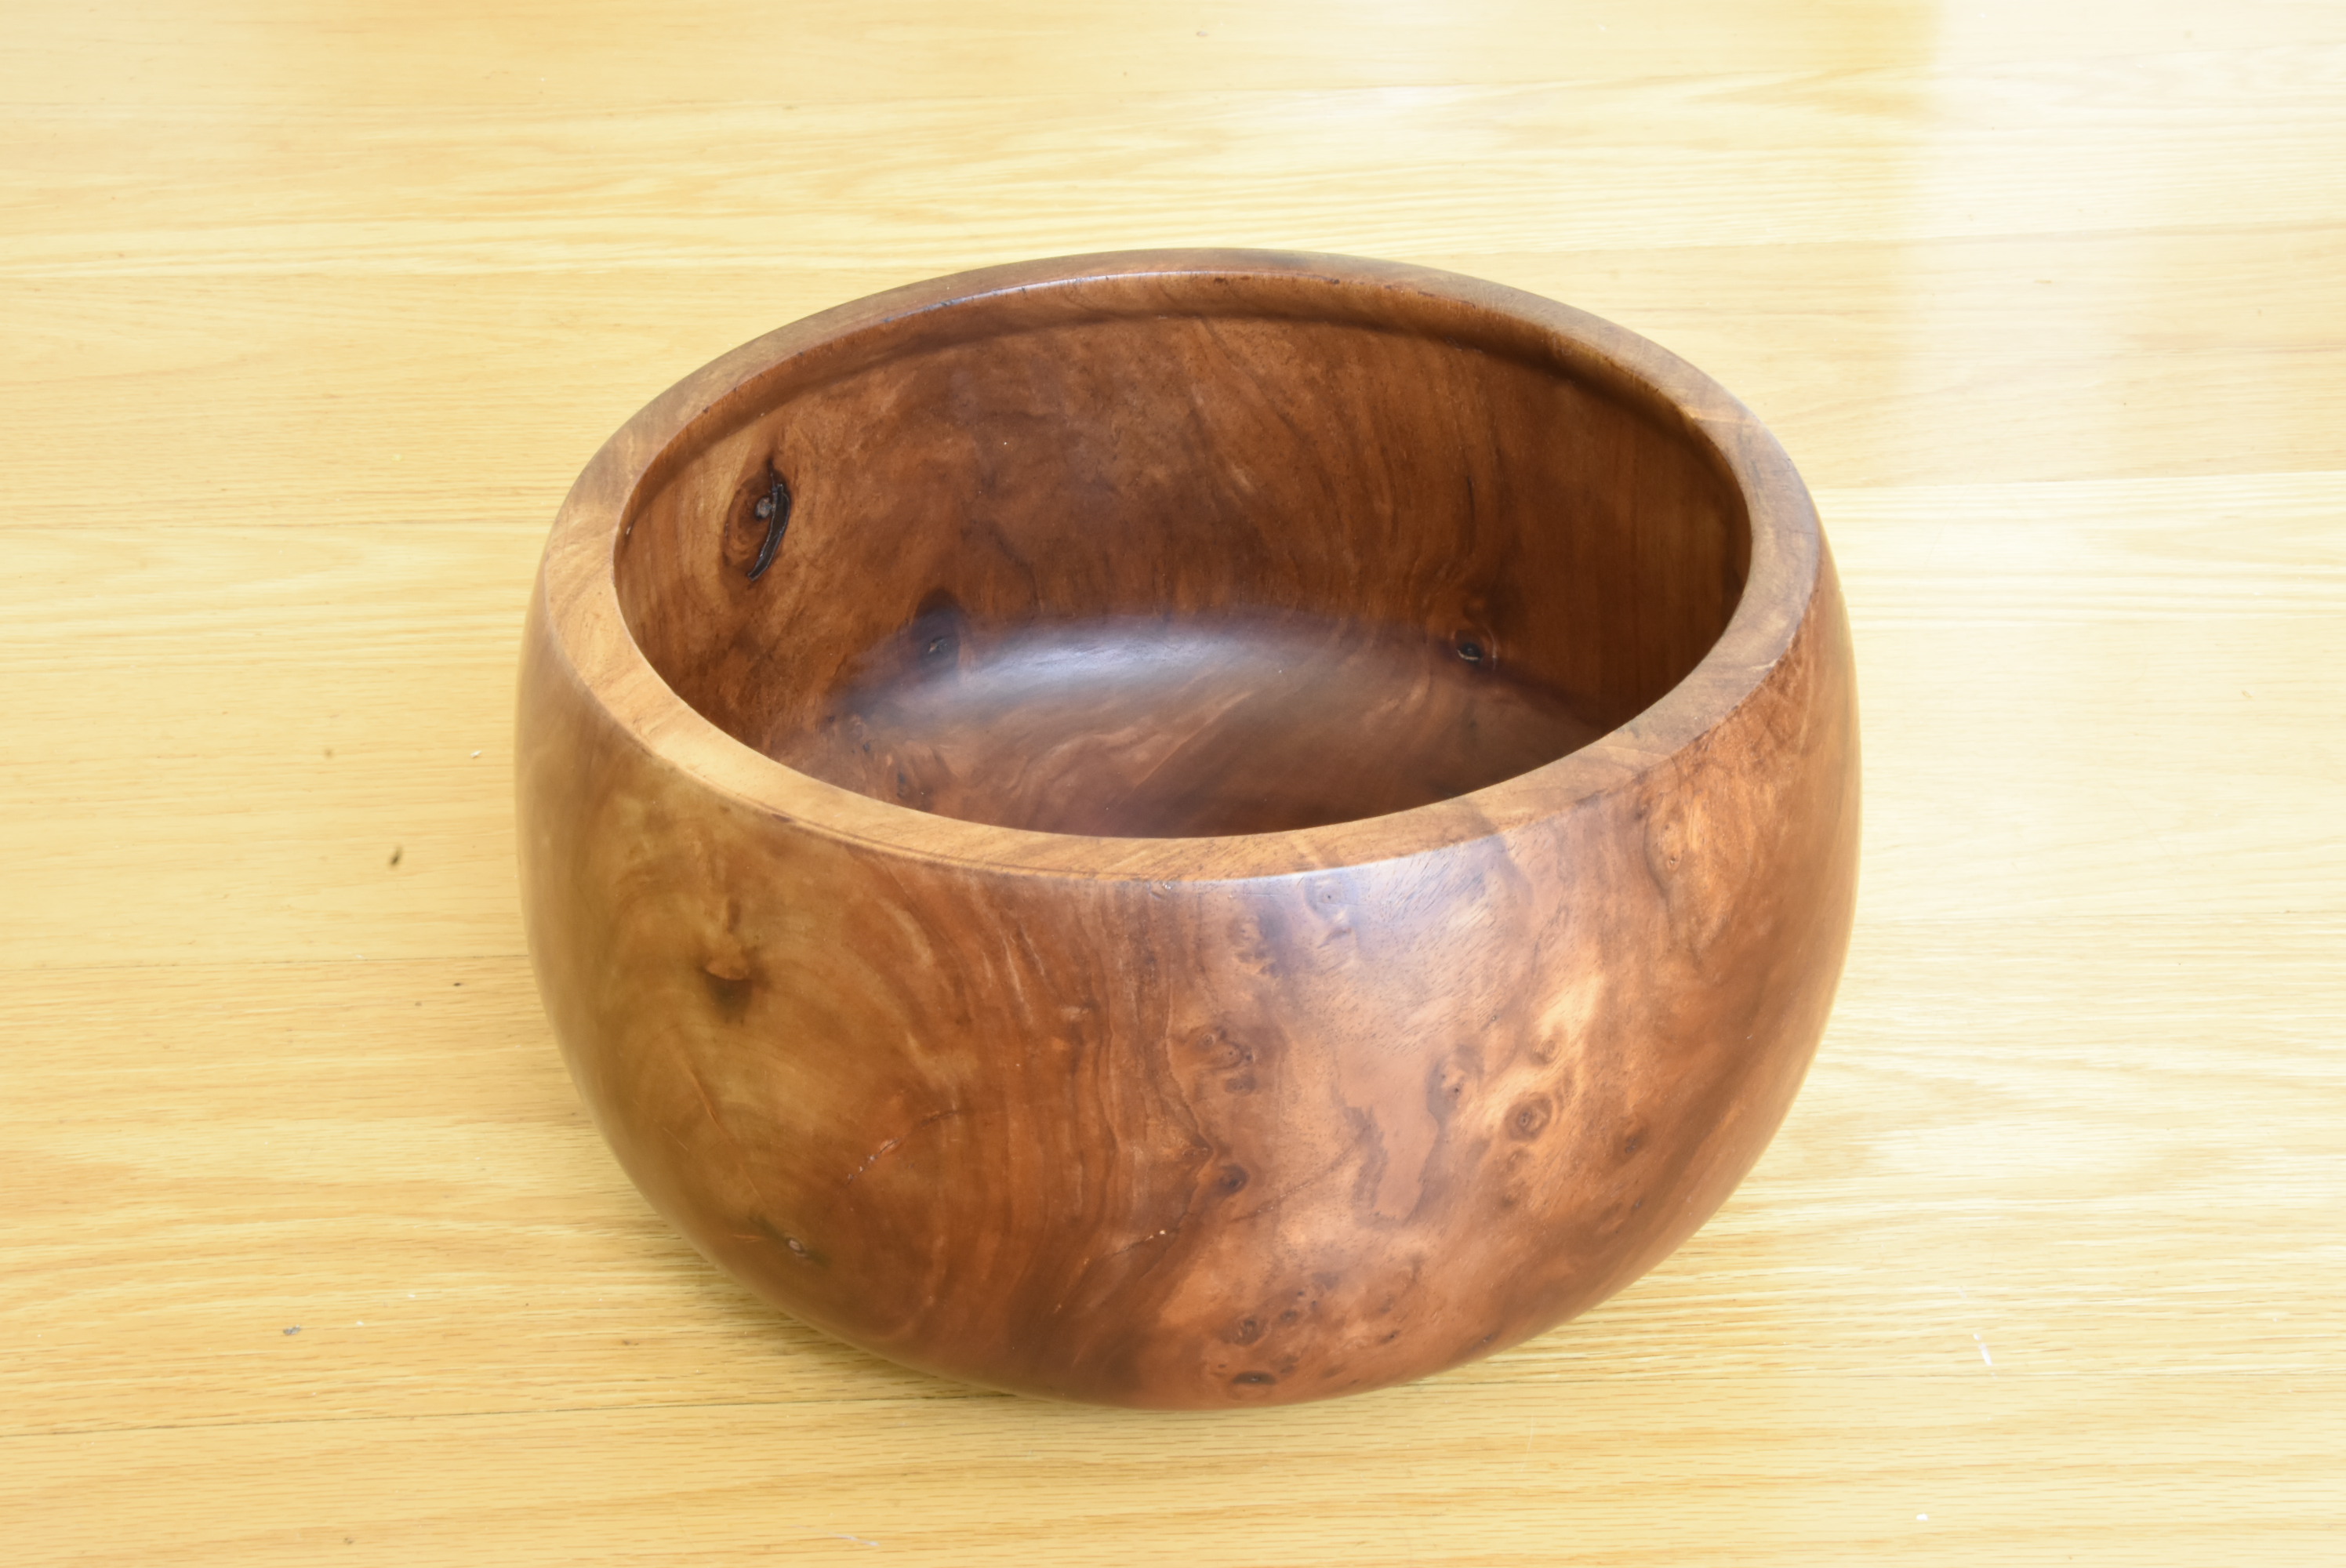
Finished Bowl – well almost, the bottom requires more work – mostly sanding. At this point the bowl has not been treated with any finish.
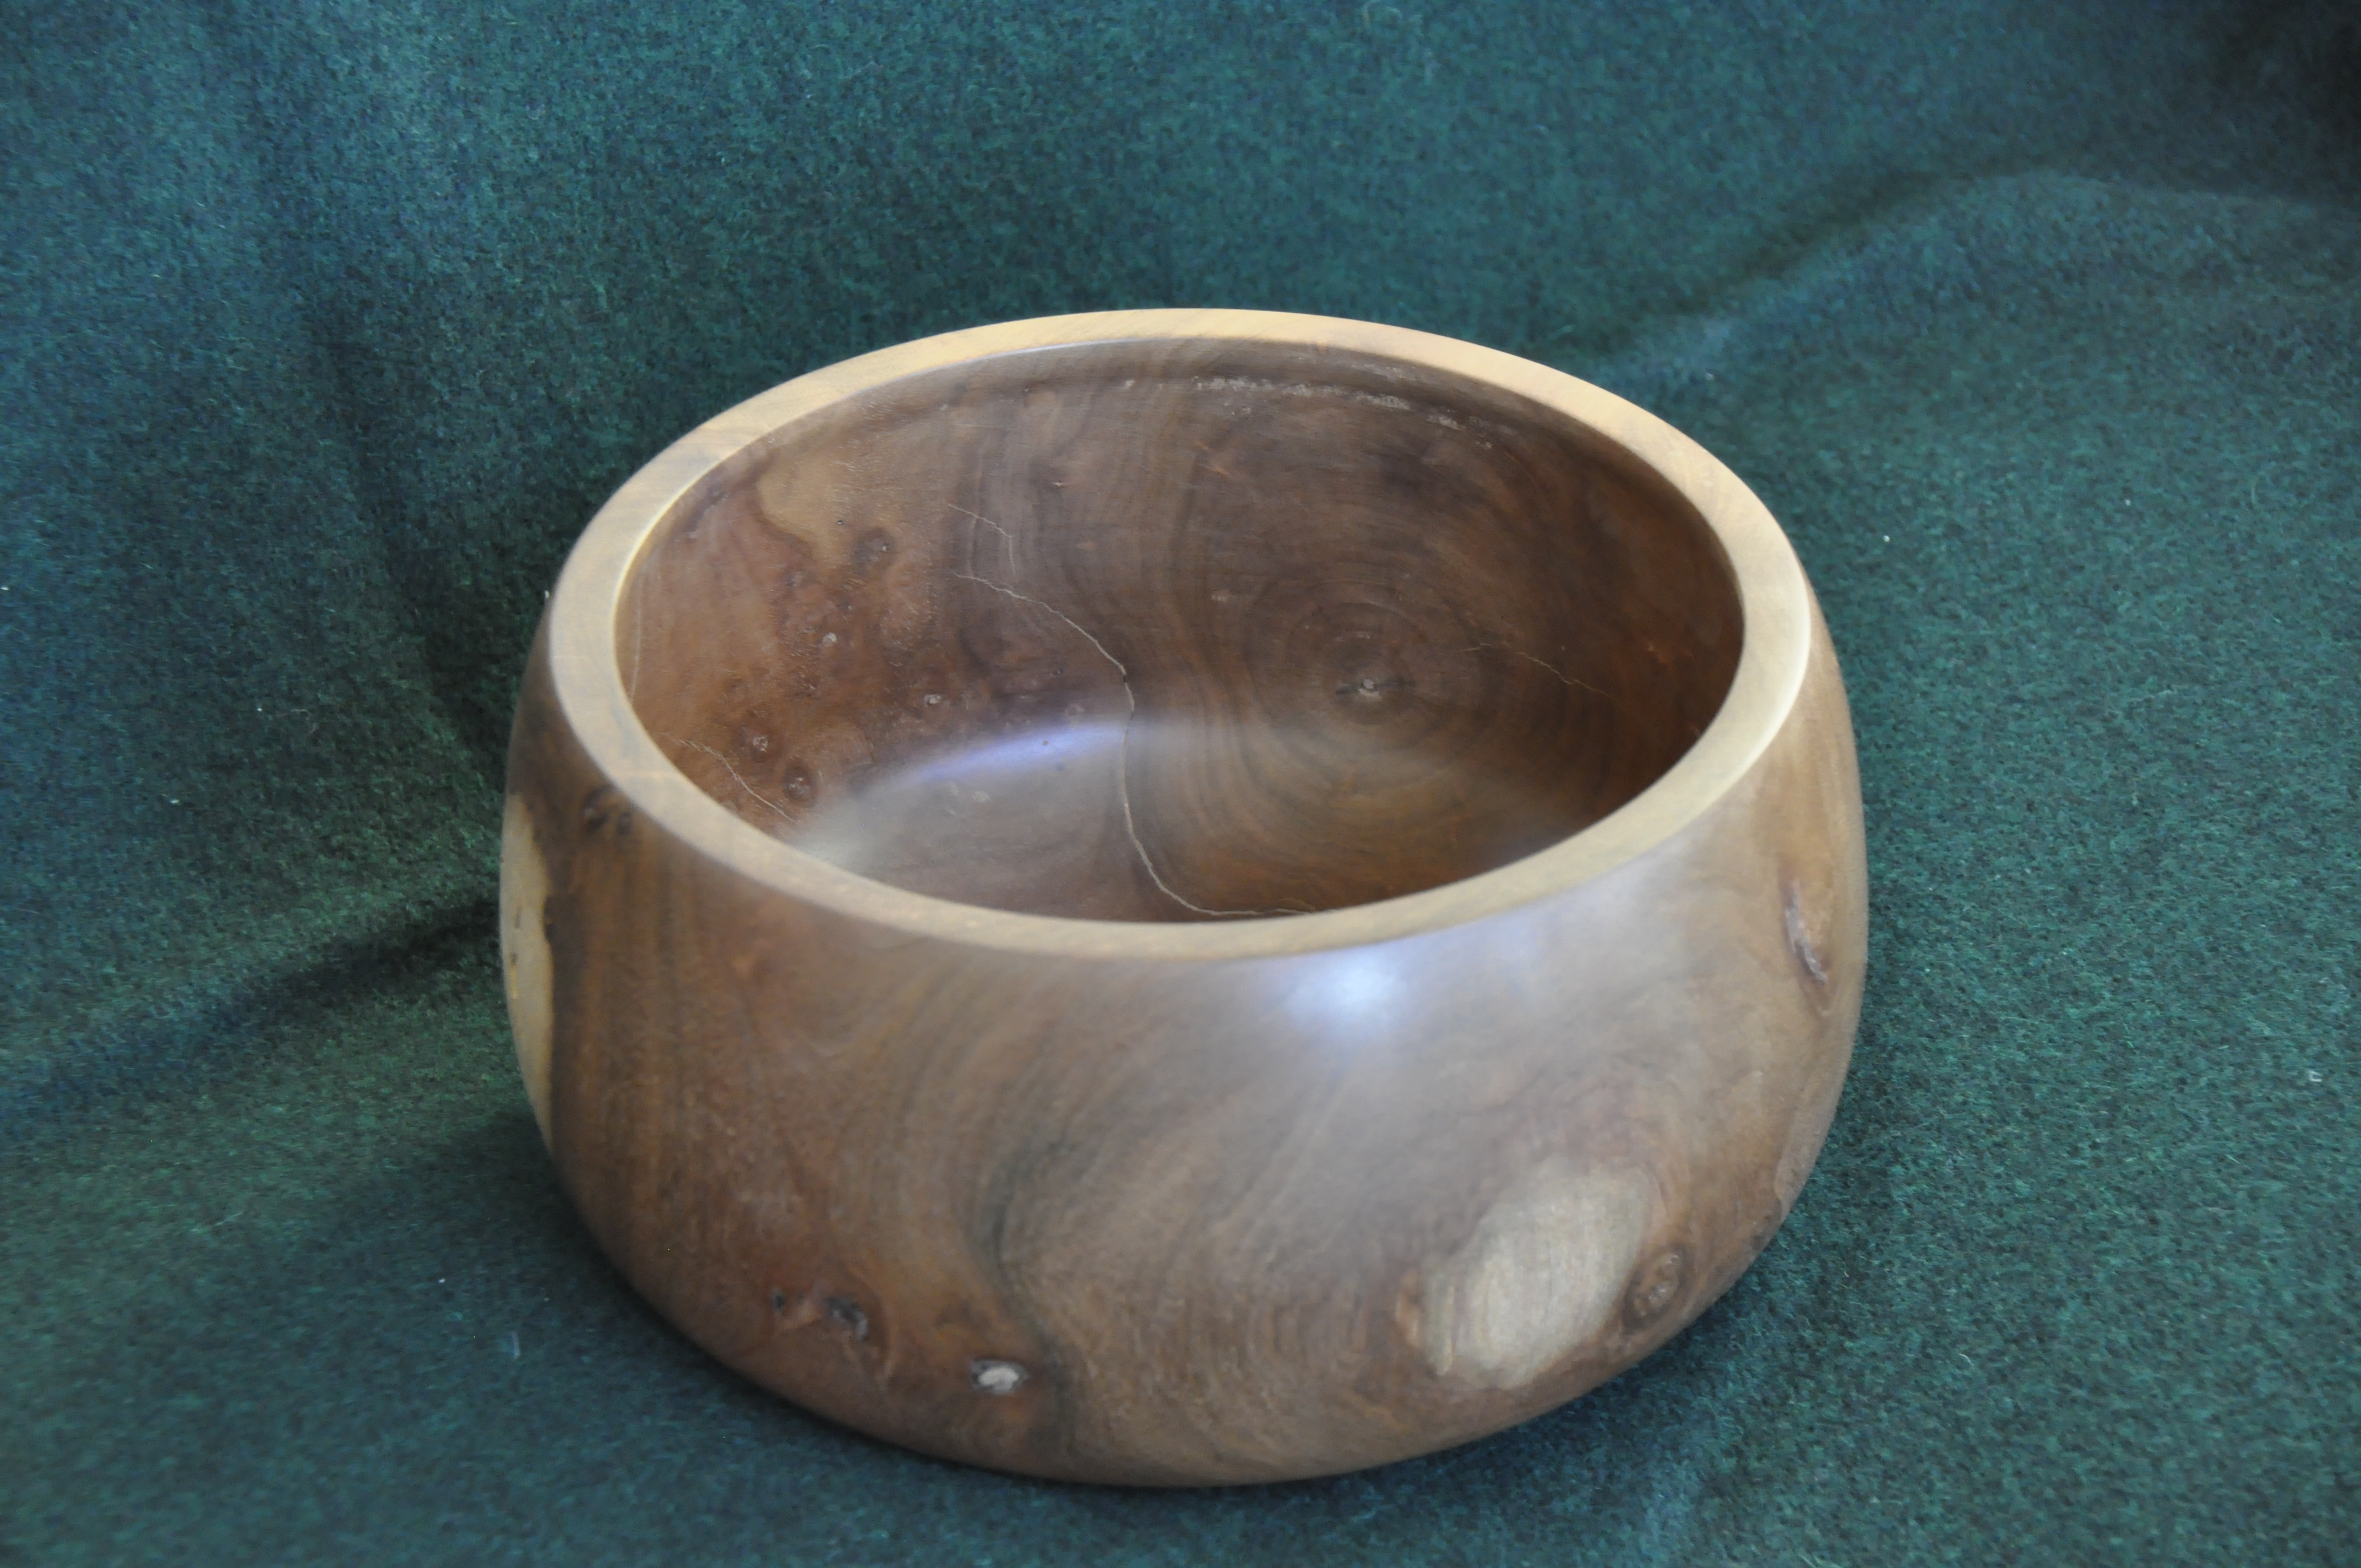
Spectmber 2015: The bottom and the inside were sanded and the ring check treated with sanding dust and CA glue both inside and out. The bowl was sanded again and then oiled with Mahoney's Walnut oil.